How to Photograph the Northern Lights: Tips and Techniques
Photographing the Northern Lights can be a truly rewarding experience if you know the right techniques. Begin by choosing optimal times and locations, such as late September or April, in areas with minimal light pollution. Equip yourself with a high-quality camera, a wide-angle lens, and a sturdy tripod. Set your camera to manual mode for full control over ISO, shutter speed, and aperture. For captivating shots, focus on dynamic compositions and consider post-processing to enhance colors and details. Interested in the specific settings and methods to use? Let's delve further.
Timing and Location
When capturing the Northern Lights, timing and location are crucial. Plan your trip during peak aurora seasons to enhance your chances. The best times are late September and April, coinciding with the autumn and spring equinoxes, and the longer nights from November to January. While winter offers extended darkness, be aware that weather conditions can sometimes obscure visibility.
Choosing the right location is equally important. In the Northern Hemisphere, prime viewing spots include Norway's Lofoten Islands, Tromsø, Kirkenes, and various parts of Iceland, particularly areas far from Reykjavik to minimize light pollution. Tools like the Blue Marble Light Pollution Map can help you identify dark sky locations, optimizing your chances of seeing the auroras.
Monitoring aurora activity is also essential. Keep an eye on the Kp index, a measure of geomagnetic activity. A value of 4 or greater increases the likelihood of witnessing the Northern Lights. Websites like Space Weather Live provide real-time forecasts, aiding in effective excursion planning.
Lastly, avoid full moon periods, as their brightness can interfere with visibility. With the right timing and location, you'll be well-positioned to capture stunning Northern Lights photos.
Safety and Preparation
To ensure safety and comfort while photographing the Northern Lights, dress in layers and wear insulated clothing to combat the cold. Always travel with a companion, especially in remote areas, to ensure you have support if needed. Keep extra camera batteries warm in your pockets, and bring along warm drinks and hand warmers to make the wait more bearable.
Dressing for Cold
Capturing the Northern Lights in cold weather requires proper attire for both comfort and safety. Cold conditions can be severe, so dressing in layers is essential. Start with a moisture-wicking base layer to keep sweat away from your skin. Add an insulating mid-layer to retain heat, and finish with a waterproof outer layer to protect against snow and wind.
Pay special attention to your extremities, which are particularly vulnerable in cold temperatures. Wear thermal socks and insulated, waterproof boots to keep your feet warm and dry during extended periods outdoors. Use gloves designed for photography to maintain dexterity while adjusting camera settings.
Here's a summary of essential cold-weather attire:
- Layered clothing: base layer, mid-layer, and outer layer
- Thermal socks: keep feet warm
- Waterproof boots: keep feet dry
- Photography gloves: maintain dexterity
- Warm hat or beanie: prevent heat loss through the head
Consider using hand warmers and heated insoles for added warmth. Properly dressing for the cold ensures you can focus on capturing the breathtaking auroras, rather than worrying about the weather.
Emergency Preparedness
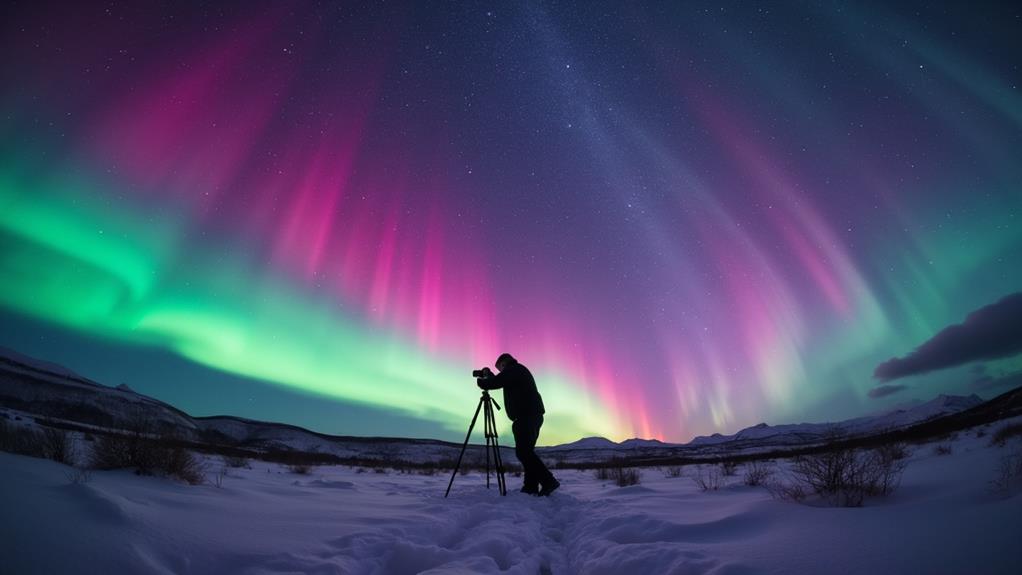
Photographing the Northern Lights involves more than just capturing beautiful images; it requires a focus on safety and emergency preparedness. Dress in layers with thermal clothing to stay warm during extended outdoor sessions. In polar regions, temperatures can drop significantly, making proper attire essential to maintain comfort and focus on your camera settings and tripod stability.
Travel with a buddy or group for added safety, especially in remote areas. Having someone with you can be crucial if any issues arise. Keep extra camera batteries in interior pockets to prevent energy loss, as cold temperatures can quickly drain their power. This ensures you don't miss capturing the perfect ISO settings under clear skies.
Be prepared for changing weather conditions by bringing waterproof gear and a reliable navigation method, such as a GPS or map. Sudden snowstorms can occur, so it's important to be ready. Pack essentials like warm drinks, hand warmers, and snacks to maintain your comfort and energy levels during long waits for aurora sightings. By staying prepared, you'll be able to capture the Northern Lights safely and effectively.
Essential Equipment

Capturing the mesmerizing Northern Lights requires specific equipment to ensure your photographs truly reflect the celestial spectacle. First and foremost, you will need a high-quality camera. A DSLR or mirrorless camera with high ISO capability (up to 6400) is ideal for effectively capturing low-light conditions. Pair your camera with a wide-angle lens with a minimum aperture of f/2.8 to maximize light intake and capture expansive sky views.
A sturdy tripod is essential for stability during long exposures. Opt for a carbon fiber tripod, as they are lightweight and handle windy conditions well. Don't forget extra batteries and memory cards; cold weather can quickly drain battery life, and high-resolution images will require substantial storage.
To minimize camera shake and ensure sharp images during long exposure shots, a remote shutter release or timer is beneficial.
Here's a quick checklist for your Northern Lights photography kit:
- Camera with high ISO capability
- Wide-angle lens with a minimum aperture of f/2.8
- Sturdy tripod, preferably carbon fiber
- Extra batteries and memory cards
- Remote shutter release or timer
With these essential items, you'll be well-prepared to capture the Northern Lights in all their glory.
Camera Settings
Dialing in the right camera settings is essential for capturing the Northern Lights in their full glory. Set your camera to manual mode to control key settings like shutter speed, aperture, and ISO, which is crucial for adapting to the aurora's dynamic nature. Start with an ISO of 1600 to enhance low-light performance, but be prepared to adjust between ISO 800 and 6400 based on conditions, keeping noise levels in check.
Use wide apertures of f/2.8 or lower to maximize light intake, crucial for capturing the auroras' subtle details and colors. Shutter speed is equally important; experiment with exposures ranging from 5 to 30 seconds. Faster-moving auroras require shorter shutter speeds to avoid motion blur, while slower movements allow for longer exposures.
Always use manual focus and set your lens to infinity, as autofocus struggles in low-light conditions. Manual focus ensures the sharpness of both the auroras and any foreground elements. Mastering these settings will significantly improve your chances of capturing breathtaking Northern Lights photos.
Composition Techniques
To compose captivating aurora photographs, incorporate foreground elements such as trees or mountains to enhance depth and visual appeal. Use wide-angle lenses to capture the expansive scene, framing the aurora with striking landscapes. Ensure a balanced composition where neither the aurora nor the landscape dominates, achieving a harmonious and engaging image.
Include Foreground Elements
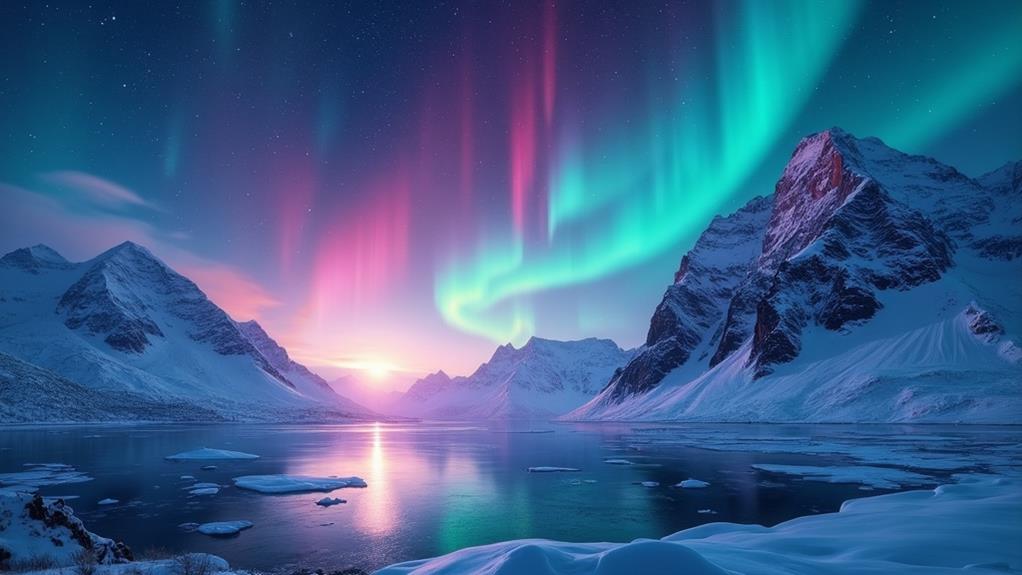
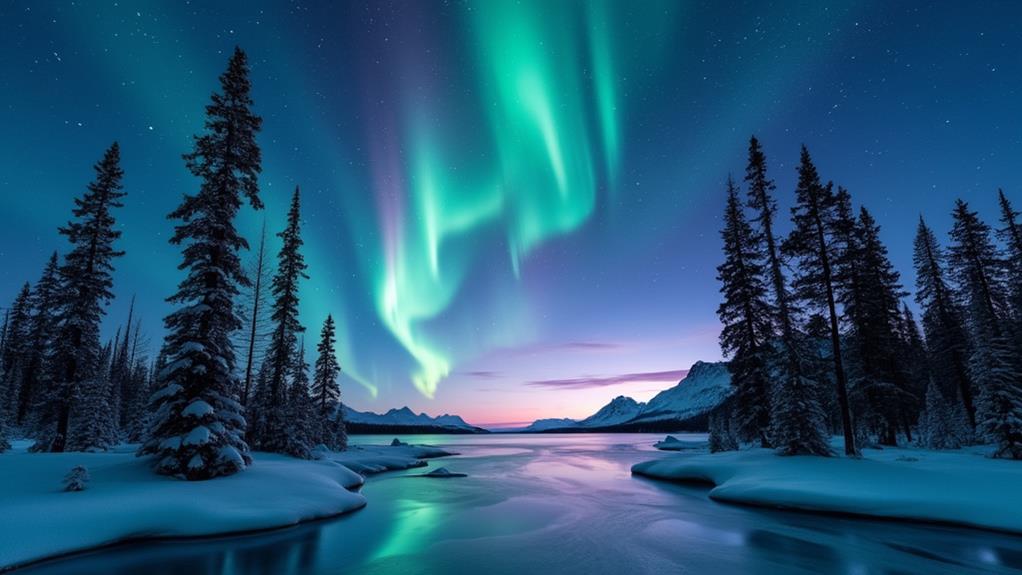
Incorporating foreground elements such as trees, mountains, or water into your aurora photographs adds depth and context, enhancing the overall composition. Norway's dramatic landscapes, including fjords and rugged coastlines, serve as stunning natural frames that can significantly improve the visual impact of the aurora. Using these foreground elements in your landscape photography helps create a balanced composition, especially when using a wide-angle lens to capture expansive scenes.
Consider the rule of thirds when positioning these elements to create a dynamic and engaging image, drawing the viewer's eye through the photograph. Experimenting with different perspectives and angles will help you find unique compositions that showcase the aurora alongside interesting foreground subjects.
Here are some tips to get you started:
- Frame the aurora with trees or mountains: This adds a natural border to your shot.
- Include water reflections: They can double the visual impact of the lights.
- Use rocks or ice formations: These can add interesting textures and shapes.
- Position elements off-center: Following the rule of thirds makes your photos more dynamic.
- Experiment with different heights: Changing your vantage point can yield surprising results.
Utilize Wide-Angle Lenses
To capture the grandeur of the Northern Lights, wide-angle lenses are essential. These lenses, with focal lengths between 14mm and 30mm, are perfect for night photography. They allow you to capture expansive views of the sky and surrounding landscape, ensuring you get the full spectacle in your composition.
A wide aperture, ideally f/2.8 or lower, improves light intake, making your images of the auroras clearer and more vivid. This is particularly significant for night photography, where light is limited. Moreover, incorporating foreground elements like trees or mountains with wide-angle lenses adds depth and interest to your composition, making the aurora appear more dynamic.
Experimenting with different angles and perspectives can lead to unique compositions. Try capturing the aurora reflected in water or framed by natural features. Wide-angle lenses also allow for creative techniques like leading lines, which guide the viewer's eye through the image and enhance the visual impact of the aurora.
Balance Aurora and Landscape
Mastering the use of wide-angle lenses is crucial for achieving a balanced composition that harmonizes the aurora with the surrounding landscape. Incorporate foreground elements like trees, mountains, or water to add depth and interest to your aurora photographs. These features create layers, making your composition more engaging and dynamic.
Wide-angle lenses are ideal for capturing expansive landscapes alongside the auroras, providing a more dramatic and immersive visual experience. This lens choice allows you to include both the sky and the terrain, enriching the narrative of your image.
To balance the composition, position the aurora in relation to prominent landscape features. Ensure that neither element overwhelms the other, creating a harmonious scene. Norway's dramatic landscapes, such as fjords and peaks, offer excellent natural frames to highlight the vibrant colors of the auroras.
Experiment with different angles and perspectives to find unique compositions. This approach can guide the viewer's eye through the scene, creating a compelling narrative.
Key Tips:
- Incorporate foreground elements for depth and interest.
- Use wide-angle lenses for expansive, engaging scenes.
- Balance aurora and landscape features harmoniously.
- Utilize natural frames like fjords and peaks.
- Experiment with angles and perspectives for unique compositions.
Viewing Conditions
Capturing stunning photographs of the Northern Lights starts with understanding the ideal viewing conditions. Knowing when and where to go is essential. The best times for viewing often occur during the autumn and spring equinoxes, particularly in late September and April when aurora activity is strongest. During these periods, your chances of capturing the aurora increase significantly.
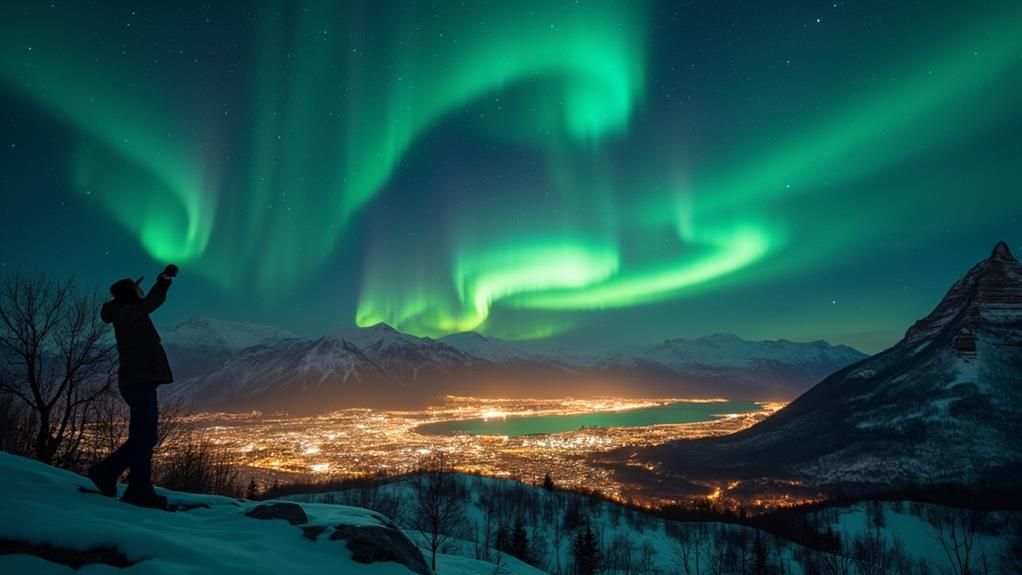
First, seek locations with minimal light pollution. Being away from city lights will improve the visibility of the auroras and allow you to capture clearer photographs. Long, dark nights from November to January also increase your chances of sightings. However, monitor the weather closely for cloud cover, as it can obscure your view.
Avoid planning your trip during full moon periods. The brightness of the moon can interfere with your ability to see the auroras clearly against the night sky. To optimize your chances, utilize aurora forecast tools and apps to track real-time activity. Aim for a KP index of 4 or greater, especially if you're in lower latitudes.
Stabilization Methods
Stabilization Methods for Capturing the Northern Lights
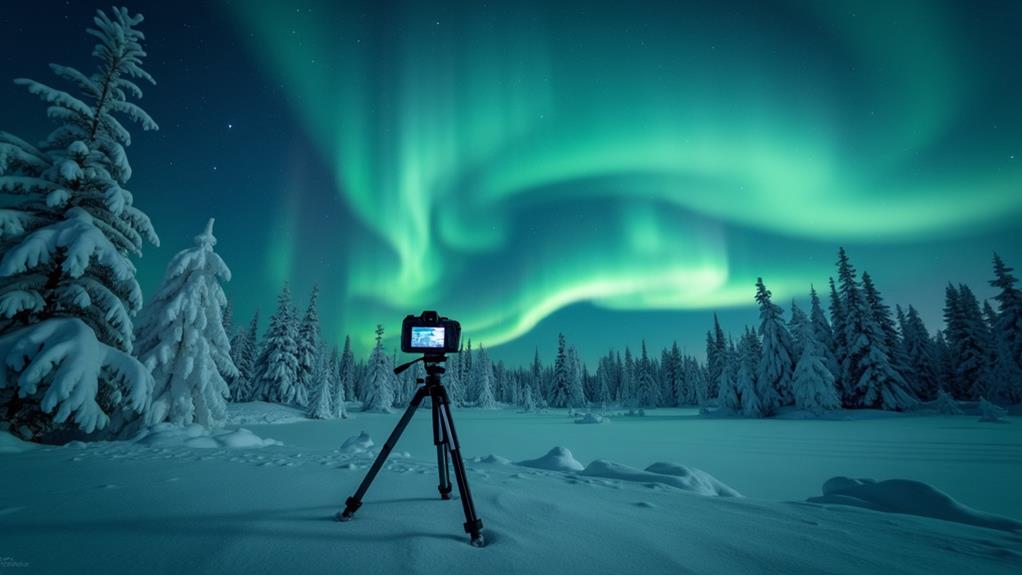
When photographing the Northern Lights, stabilization is crucial for achieving sharp, clear images. Begin by using a sturdy tripod to prevent camera shake during long exposure times. A carbon fiber tripod is ideal due to its lightweight nature and effectiveness in windy conditions.
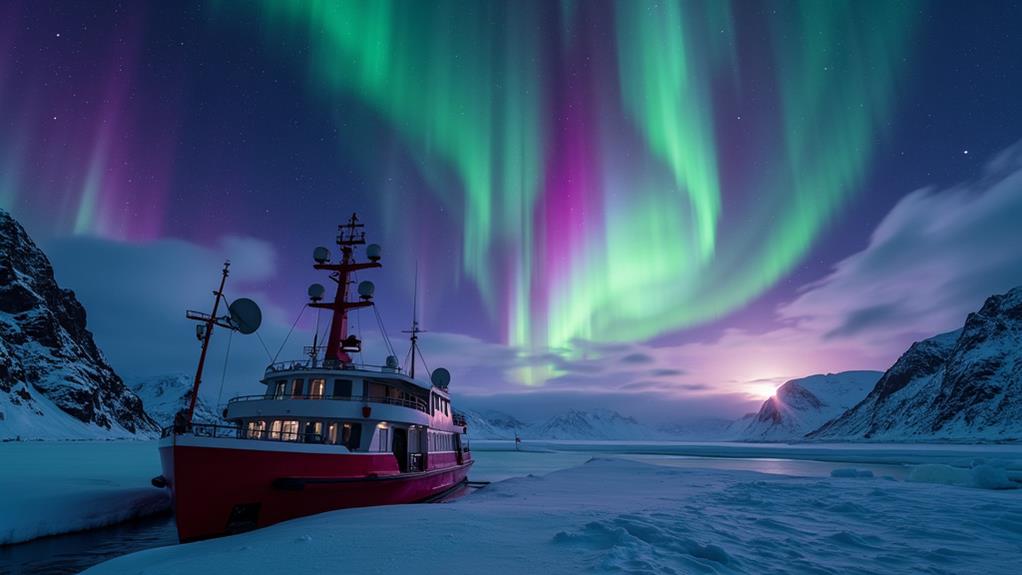
Ensure your tripod is positioned on firm, flat ground. Avoid soft surfaces like snow, which can cause it to sink or shift. If shooting from a moving vessel, consider a compact tripod designed for unstable surfaces or rest your camera on a stable structure.
Stabilization is key to reducing vibration. Secure your camera gear and ensure that cables or accessories don't touch the camera during exposure, minimizing unintended movement.
To avoid manual shaking when pressing the shutter button, use a remote shutter release or the camera's timer function. This ensures no physical contact with the camera, keeping your shot steady.
Key points to remember:
- Use a sturdy tripod.
- Place the tripod on firm ground.
- Consider alternatives for unstable surfaces.
- Secure gear to minimize vibrations.
- Use a remote shutter release or timer function.
Post-Processing Tips
Enhancing your Northern Lights photos through post-processing can elevate them from good to breathtaking. Start by adjusting the white balance of your RAW images to cooler tones, which helps eliminate unwanted green casts commonly seen in aurora photos, thereby improving their overall aesthetics.
Next, address noise reduction. High ISO settings, often necessary in low-light conditions, can introduce noise. Use post-processing software like Lightroom or Photoshop to apply noise reduction techniques, significantly enhancing image quality for a cleaner, more professional look.
To make the auroras stand out more against the night sky, adjust vibrancy and contrast selectively. This will emphasize the rich colors of the lights, making your photos truly pop.
Consider blending multiple exposures to achieve a greater dynamic range. This technique allows you to capture both the bright auroras and the darker foreground details without losing essential information. Use your post-processing software to blend these exposures seamlessly, creating a cohesive final image.
Learning Resources
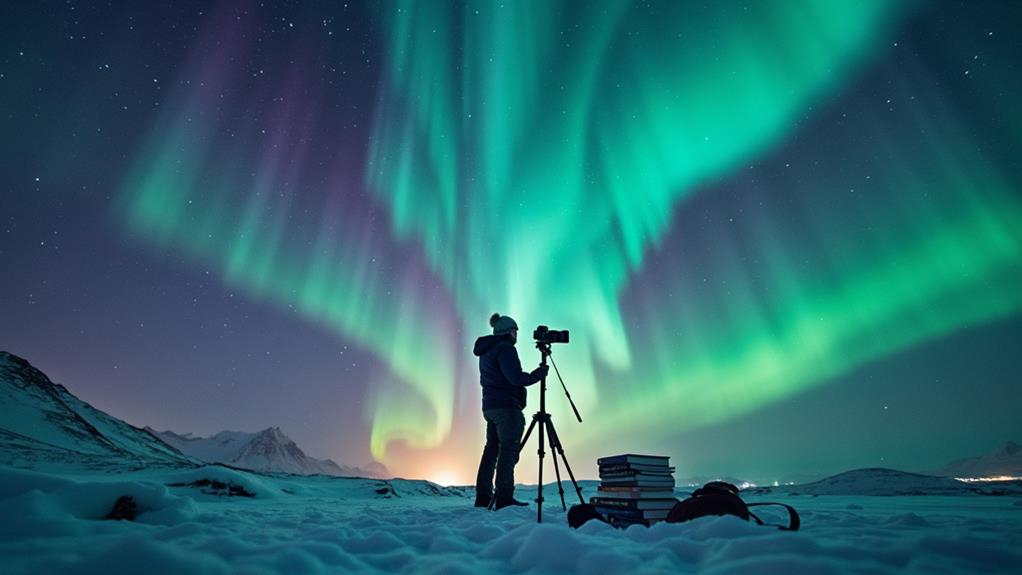
With your post-processing skills honed, it's time to explore resources that can further refine your Northern Lights photography. To capture the aurora effectively, consider these tailored learning resources for night photography:
Consider the following:
- Workshops: Attend specialized night photography workshops. These offer hands-on experience and personalized feedback to enhance your skills.
- Online Tutorials: Study online tutorials focused on aurora photography. These provide valuable tips and techniques from seasoned photographers.
- Community Forums: Join forums dedicated to aurora enthusiasts. Engaging with others can offer support and new ideas.
- Photography Publications: Subscribe to magazines like National Geographic Traveller (UK). These publications provide expert insights and practical advice on capturing the Northern Lights.
- Books: Consult resources such as "The Travel Photographer's Way" by Nori Jemil. This book offers valuable information on composition and storytelling in travel photography.
Additionally, joining photography groups can be incredibly beneficial. Sharing your experiences and receiving constructive feedback fosters a collaborative learning environment, helping you continually improve. By leveraging these resources, you'll be better equipped to capture the aurora in all its stunning beauty.
Related posts