How to Predict When and Where to See the Northern Lights
To predict the best time and place to witness the Northern Lights, you need to understand the Kp index, a crucial measure of geomagnetic activity. However, predicting the Northern Lights isn't solely about science; timing and location are essential. Picture yourself under a clear, dark sky in a remote area, with the auroras dancing overhead.
Want to know the best months, optimal hours, and how to use real-time alerts for this experience? Let's delve into the basics to ensure you don't miss this natural spectacle.
Causes of the Northern Lights
The Northern Lights, or aurora borealis, illuminate the night sky due to the interaction between charged particles from the sun and Earth's magnetic field. During periods of heightened solar activity, particularly solar flares, the sun emits energetic particles that travel as solar wind. These particles, primarily electrons and protons, collide with oxygen and nitrogen atoms in Earth's atmosphere.
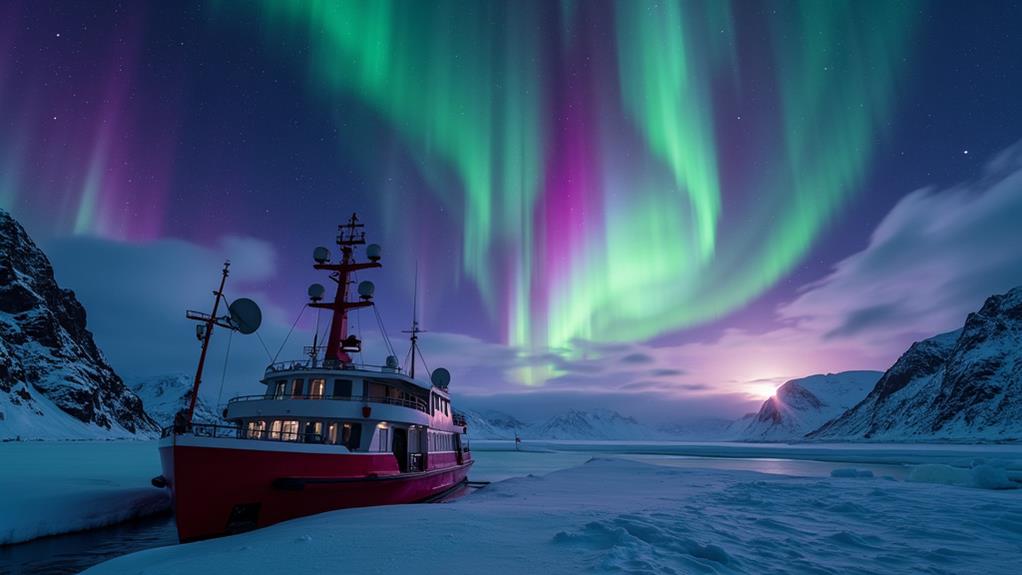
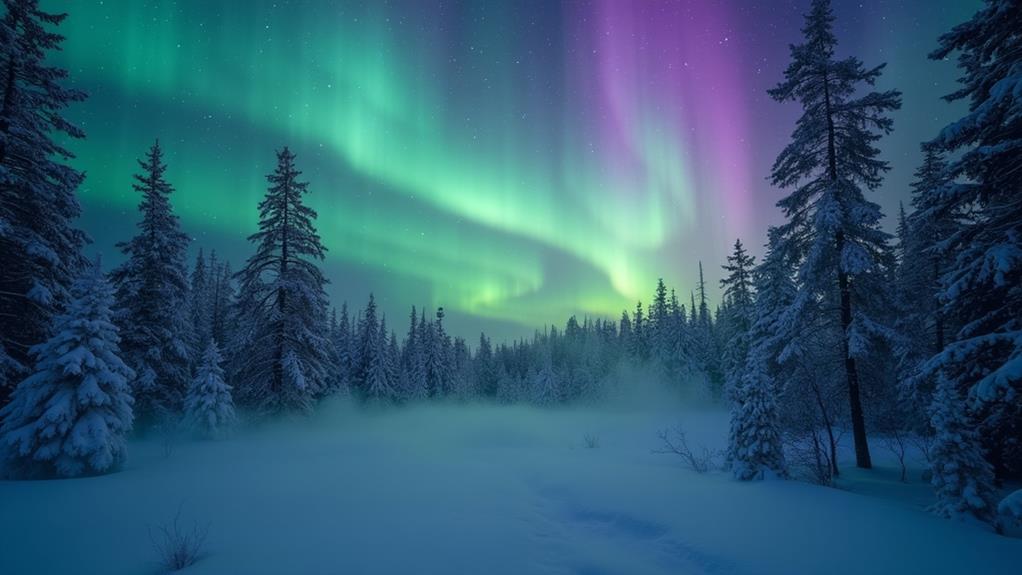
When these collisions occur, the electrons in the atmospheric atoms become excited. As they return to their normal state, they release energy as photons, resulting in the glowing auroras. The most common color, pale green, arises from atomic oxygen emissions at lower altitudes. Occasionally, red emissions appear at higher altitudes due to different atomic interactions.
Auroras are typically visible within the auroral oval, a ring-shaped region around Earth's magnetic poles. This oval shifts and brightens in response to increased solar and geomagnetic activity. Therefore, when the solar wind intensifies and interacts more vigorously with Earth's magnetic field, the aurora becomes more vivid. Understanding these causes allows for better predictions of when and where to see the Northern Lights.
Understanding the Kp Index
To predict the northern lights, it is essential to understand the Kp index, a scale ranging from 0 to 9 that quantifies geomagnetic activity. A low Kp index (0-2) signifies minimal auroral activity, while higher values (3-9) indicate more intense auroras visible further south. Regular updates on the Kp index are available, enabling you to plan your aurora-watching excursions according to current geomagnetic conditions.
Kp Index Scale
Curious about your chances of seeing the Northern Lights? The Kp Index is an essential tool for predicting this phenomenon. This scale, ranging from 0 to 9, measures geomagnetic activity caused by solar activity. A higher Kp Index means stronger auroras and greater visibility, especially in the northern hemisphere.
When the Kp Index is between 0 and 2, auroral activity is minimal and usually confined to high northern latitudes. A Kp Index of 3 to 5 indicates more vibrant auroras, visible farther south and noticeably brighter.
If the Kp Index reaches 6 or higher, you're in for a spectacular show. Such strong geomagnetic activity can make the Northern Lights visible as far south as the central United States, and occasionally even into southern regions. The scale is updated regularly, offering real-time information to help plan your viewing.
To increase your chances of witnessing this natural wonder, monitor the Kp Index, local weather conditions, and light pollution levels. This approach significantly boosts your odds of experiencing the Northern Lights firsthand.
Interpreting Geomagnetic Activity
Understanding geomagnetic activity is crucial for predicting the Northern Lights, and the Kp Index is your essential tool for this. The Kp index, which ranges from 0 to 9, measures geomagnetic activity resulting from solar phenomena. Higher Kp values indicate an increased likelihood of visible auroras, even at lower latitudes.
Here's what you need to know:
- Kp 0-2: Low geomagnetic activity, meaning auroras are likely confined to polar regions. You'd need to be near the Arctic or Antarctic circles to see them.
- Kp 3-5: Moderate geomagnetic activity, suggesting auroras could be visible at lower latitudes. Regions such as Canada, Scandinavia, and the northern U.S. states might experience auroral displays.
- Kp 6-7: High geomagnetic activity, pushing auroras further south, making them visible in areas like central Europe and the central U.S.
- Kp 8-9: Extremely high geomagnetic activity, often associated with geomagnetic storms, potentially making the Northern Lights visible near the equator—a rare and spectacular event.
Regular updates on the Kp index are vital for planning your aurora viewing, as higher readings generally indicate better chances of witnessing bright and active Northern Lights displays.
Best Time for Viewing
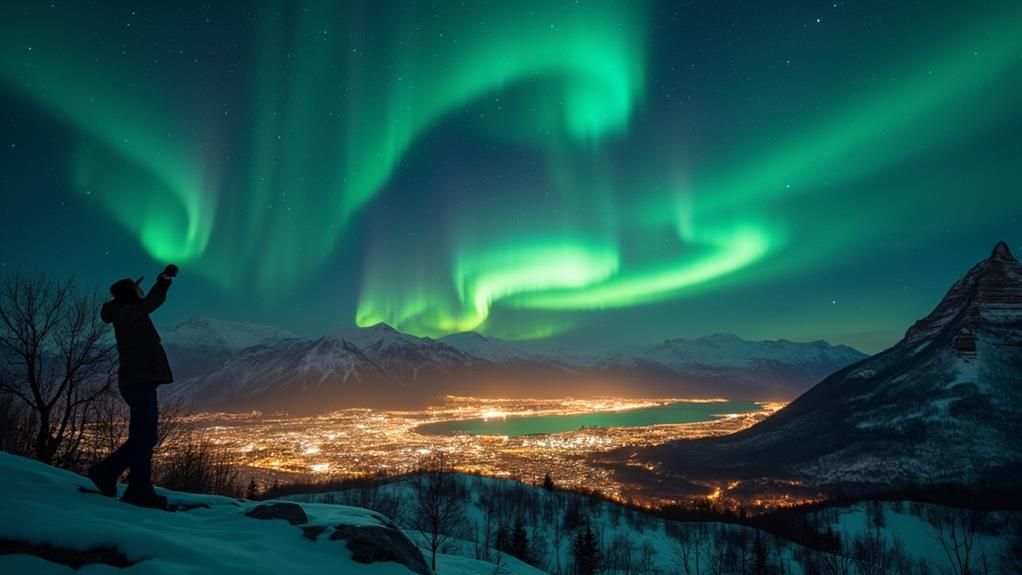
To catch the Northern Lights at their best, plan your trip between late September and early April, with peak visibility in October, November, and April. Aim to be outside between 10 PM and 2 AM local time, especially around the spring and fall equinoxes when geomagnetic activity is most intense. For ideal viewing, consider locations such as Fairbanks, Alaska, or Reykjavik, Iceland. Additionally, schedule your visit around new moons to reduce light pollution and enhance visibility.
Peak Viewing Months
Peak viewing months for the Northern Lights are crucial for anyone eager to witness this celestial spectacle. The best months for peak visibility are from August to April, with October, November, and April being particularly outstanding. During these times, you'll experience longer nights and clearer skies, especially in the winter months, which are ideal for aurora viewing.
To enhance your chances of seeing the Northern Lights, consider these key points:
- Geomagnetic Activity: Geomagnetic activity, which powers the auroras, often peaks around the equinoxes in March and September. This makes these months particularly promising for aurora hunters.
- Auroral Oval: Locations within the auroral oval, such as Fairbanks, Alaska, and Yellowknife, Canada, have more frequent and intense displays during the best months.
- New Moons: Planning your trip around new moons can greatly improve visibility by minimizing light pollution from the moon.
- Winter Months: The longer nights of the winter months provide more opportunities to catch a glimpse of this natural wonder.
Ideal Sky Conditions
Clear night skies are essential for viewing the Northern Lights because cloud cover can significantly obstruct your view. Without a clear sky, even the most intense geomagnetic activity will not be visible. The optimal months for viewing the Northern Lights extend from August to April, with peak visibility often occurring in October, November, and April due to seasonal variations.
The best time to observe the aurora is between 10 PM and 2 AM local time, when geomagnetic activity peaks, increasing your chances of witnessing this breathtaking phenomenon. To enhance aurora visibility, you should be far from urban light pollution, as city lights can wash out the sky, making it difficult to see the Northern Lights even on a clear night.
Seasonal variations around the spring and fall equinoxes lead to more frequent geomagnetic storms, which can improve your viewing experience. These storms increase the intensity and frequency of the auroras, making these times especially promising for Northern Lights enthusiasts. Plan your viewing during these ideal conditions for the best possible experience.
Optimal Locations
For the best chance of witnessing the Northern Lights, head to renowned locations like Fairbanks, Alaska; Reykjavik, Iceland; and Yellowknife, Canada. These spots lie within the auroral oval, where the likelihood of seeing the aurora borealis is highest. Prime viewing times span from late September to early April, with peak visibility often occurring in October, November, and April. Increased geomagnetic activity around the spring and fall equinoxes further enhances your chances.
To optimize your experience, consider these tips:
- Check the Kp index: A Kp index of 6 or higher indicates high geomagnetic activity, increasing the likelihood of seeing the Northern Lights even further south.
- Seek minimal light pollution: Choose locations away from city lights to ensure a clear, dark sky, which significantly improves visibility.
- Face north: Ensure you have an unobstructed view toward the northern horizon, where the aurora typically appears.
- Plan around seasonal patterns: Aim for times near the equinoxes when geomagnetic activity is naturally higher, providing better opportunities for auroral displays.
Follow these steps, and you'll be well on your way to an unforgettable Northern Lights experience.
Optimal Viewing Locations
Are you wondering where the best spots are to witness the Northern Lights? To maximize your chances, focus on high-latitude regions like Fairbanks, Alaska; Yellowknife, Canada; and Reykjavik, Iceland. These areas are ideal due to their proximity to the magnetic poles, increasing the likelihood of experiencing intense auroral activity.
For the best view, seek elevated terrains with unobstructed views to the north—mountain tops or hilltops are excellent. Avoid urban light pollution by heading to dark areas far from city lights. Remote locations significantly improve your chances of seeing the Northern Lights in all their glory.
Monitor the Kp index, a measure of geomagnetic activity. When the Kp index is 6 or higher, auroras can extend further south, potentially visible even in northern U.S. states like Montana and North Dakota.
Consider seasonal variations. The best times to view the Northern Lights are late autumn and early spring. These periods offer longer hours of darkness and increased geomagnetic activity, particularly around the equinoxes.
Weather and Sky Conditions
They're absolutely essential. Clear skies are critical for aurora visibility, as any cloud cover can completely obstruct your view. Always check weather forecasts before heading out to ensure the sky will be clear.
The best time to view the Northern Lights is typically between 10 PM and 2 AM local time. During these hours, geomagnetic activity often peaks, providing prime viewing opportunities. However, light pollution can significantly diminish your experience. Head to rural areas or national parks where artificial light is minimal for the best results.
Seasonal variations also play a role in your success. During equinoxes, longer nights and increased geomagnetic activity can lead to better aurora viewing opportunities. Keep these factors in mind when planning your trip.
Here are some tips to improve your experience:
- Check weather forecasts for clear skies.
- Aim for the best time between 10 PM and 2 AM.
- Avoid light pollution by choosing remote viewing spots.
- Consider seasonal variations, especially around equinoxes, for ideal conditions.
Using Aurora Forecast Tools
Understanding weather and sky conditions is just one part of the equation when hunting for the Northern Lights. To maximize your chances, you should also leverage aurora forecast tools. Tools like My Aurora Forecast provide real-time predictions based on the Kp index, a scale from 0 to 9 indicating geomagnetic activity levels and the likelihood of Northern Lights visibility. By tracking solar activity, these tools utilize satellite data measuring solar wind speed and density, alerting you when an aurora might occur.
The NOAA Space Weather Prediction Center is another essential resource. It offers detailed forecasts, including the Ovation Auroral forecast, which displays maps of expected aurora activity around the Auroral oval zone. Numerous apps and websites can send alerts when Kp levels rise in your area, significantly improving your chances of witnessing an aurora display.
Aurora forecast tools often include historical data and trends, aiding in planning trips during optimal viewing periods. This is particularly useful during solar maximum years, like those predicted for 2022–2027, when solar activity peaks, increasing the probability of spectacular auroras.
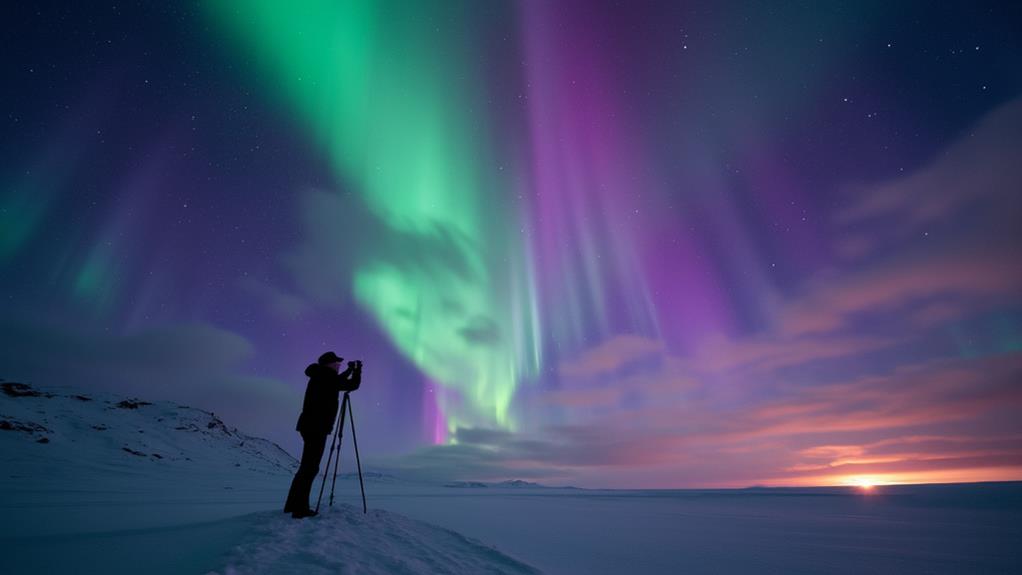
Photography Equipment and Settings
Capturing the Northern Lights is an exhilarating challenge that demands specific photography equipment and settings. Here's what you'll need to get started:
Essential Equipment
- Camera with Manual Settings: Allows for precise control over exposure.
- Sturdy Tripod: Ensures stability during long exposures.
- Remote Trigger: Minimizes camera shake.
- Extra Batteries: Cold weather drains batteries faster.
- Lens Cloth: Keeps your lens clean for clear shots.
Optimal Settings
- Aperture: Use the widest available, like f/2.8, to maximize light intake.
- Shutter Speed: Adjust according to aurora activity. Use 5-10 seconds for fast-moving lights and 15-30 seconds for slower displays.
- ISO Range: Start with ISO 800-3200, depending on your camera's low-light capability.
- Focus: Set to infinity to ensure sharp images.
Smartphone Tips
- Stabilization: Use a tripod and Bluetooth remote to minimize shake.
- Lens Maintenance: Regularly clean your lens with a cloth to avoid moisture and dirt.
With this setup, you'll be well-equipped to capture the captivating beauty of the Northern Lights.
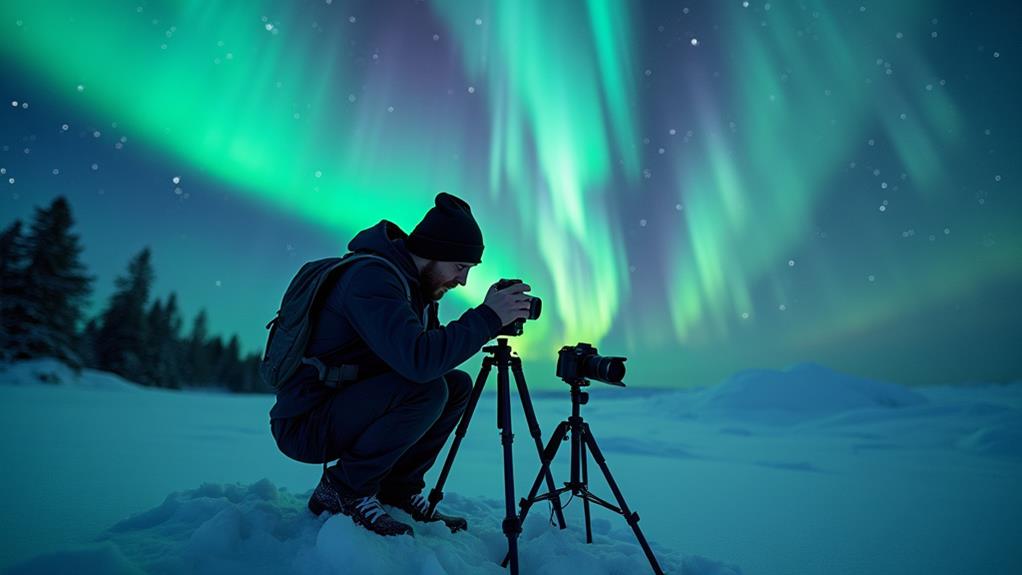
Techniques for Capturing Auroras
Capturing the Northern Lights requires patience and a keen eye for detail. Start by stabilizing your camera with a tripod to ensure sharp images during long exposures. Set your camera to manual mode, selecting a wide aperture (f/2.8 or lower) to maximize light intake. Adjust your ISO between 800 and 3200 to improve sensitivity to the aurora's faint light.
Experiment with shutter speeds: start with 5-10 seconds for fast-moving auroras and extend to 15-30 seconds for slower displays, balancing brightness and detail effectively. For a well-rounded composition, include interesting foreground elements, but set your camera to infinity focus for sharp images of the aurora itself.
Cold temperatures can drain your battery quickly, so keep extra batteries on hand. Using a remote trigger minimizes camera shake during captures, ensuring your long exposures remain crisp. With these techniques, you'll be well-equipped to capture stunning images of the Northern Lights, preserving this natural wonder as a permanent memory.
Tips for Aurora Chasing
When planning your aurora chasing adventure, timing is crucial. To maximize your chances, aim for the months between August and April, with peak visibility typically occurring in October, November, and April. Here are some tips to help you get started:
- Monitor the Kp index: Values of 6 or higher indicate stronger geomagnetic activity, enhancing the likelihood of seeing the Northern Lights further south than usual.
- Use aurora forecast apps: Apps like My Aurora Forecast provide real-time alerts based on solar wind conditions and geomagnetic activity, helping you know when and where the lights will be most visible.
- Choose dark locations: Avoid light pollution by heading to areas far from city lights. Dark, open spaces with unobstructed views of the northern horizon will improve visibility.
- Stay flexible and patient: Weather conditions can change quickly, so clear skies are essential. Be ready to adjust your location based on real-time forecasts and keep a close eye on aurora forecast apps for updates.
Related posts