Chasing the Aurora: Northern Lights Tours and Travel Tips
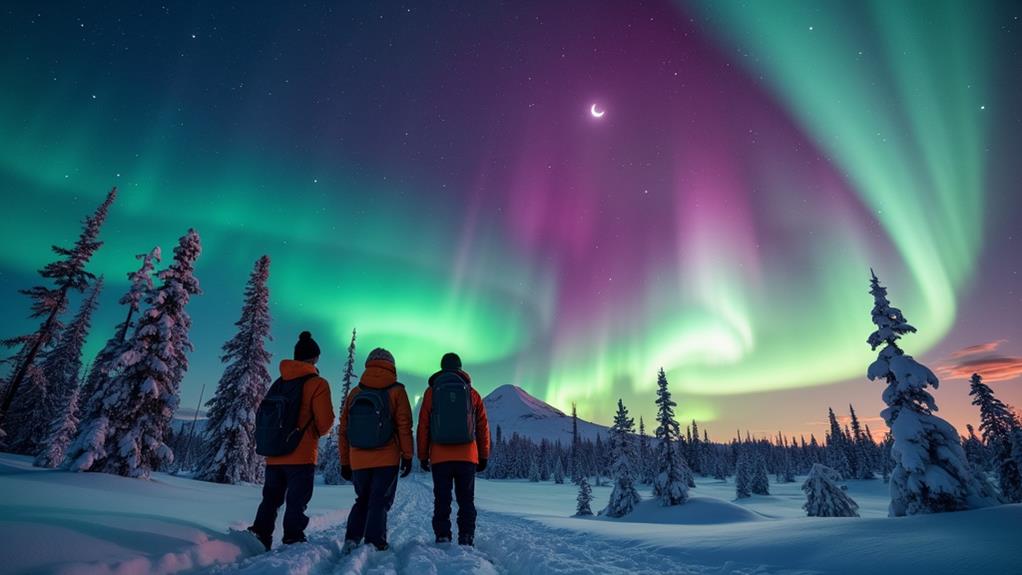
Planning a trip to chase the Aurora Borealis requires strategy and flexibility. The best locations for witnessing this natural wonder include Tromsø, Norway, and Abisko National Park, Sweden. Aim to visit between late September and early April for optimal weather conditions. Besides packing warm clothes, keep your plans adaptable and use aurora alert apps to stay updated. While waiting for the night sky to illuminate, engaging in local activities like dog sledding or cultural tours can enhance your experience. Additionally, consider factors like local weather forecasts, moon phases for optimal viewing, and the availability of guided tours to maximize your chances of seeing the Northern Lights.
Understanding the Northern Lights
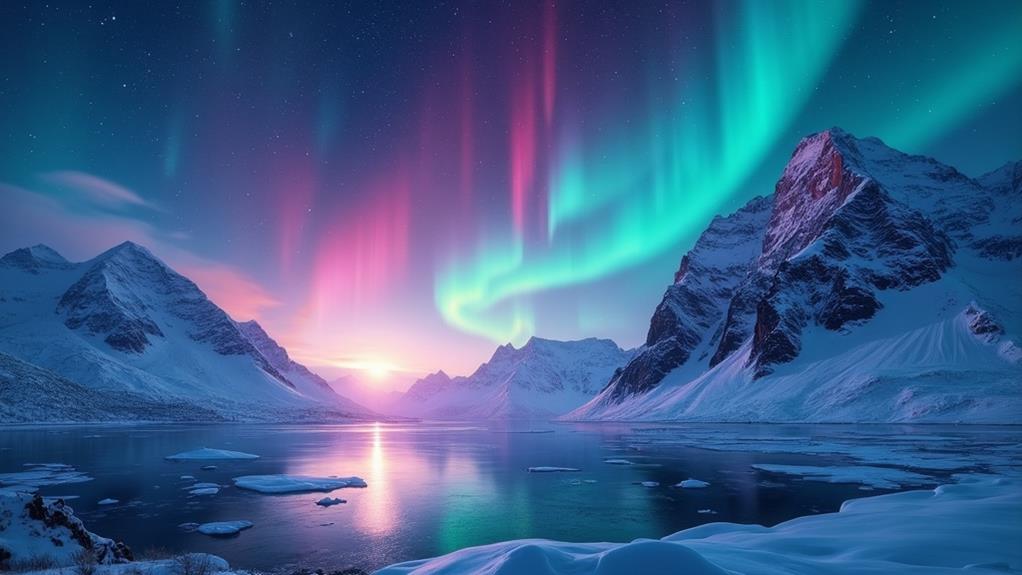
The Northern Lights, or Aurora Borealis, are a captivating natural phenomenon created when charged particles from the Sun collide with Earth's atmosphere. This collision results in vibrant light displays, primarily in shades of green, but also red, purple, and blue. To optimize your viewing opportunities, it's essential to understand a few key aspects.
First, the best time to see the Northern Lights is during the winter months, from late September to early April. During these months, the nights are longer, providing more opportunities to witness this stunning display. The optimal viewing hours are typically between 9 PM and 3 AM.
Solar activity significantly influences the Aurora Borealis. It follows an approximately 11-year cycle, with increased chances of strong auroral displays during solar maximum periods. The upcoming peak between 2023 and 2026 offers an excellent opportunity for witnessing this natural phenomenon.
For the best experience, clear skies and minimal light pollution are essential. Rural or remote areas are ideal for this reason. By following these tips, you can improve your chances of a successful sighting. So, bundle up, find a dark spot, and gaze upwards to marvel at the Northern Lights.
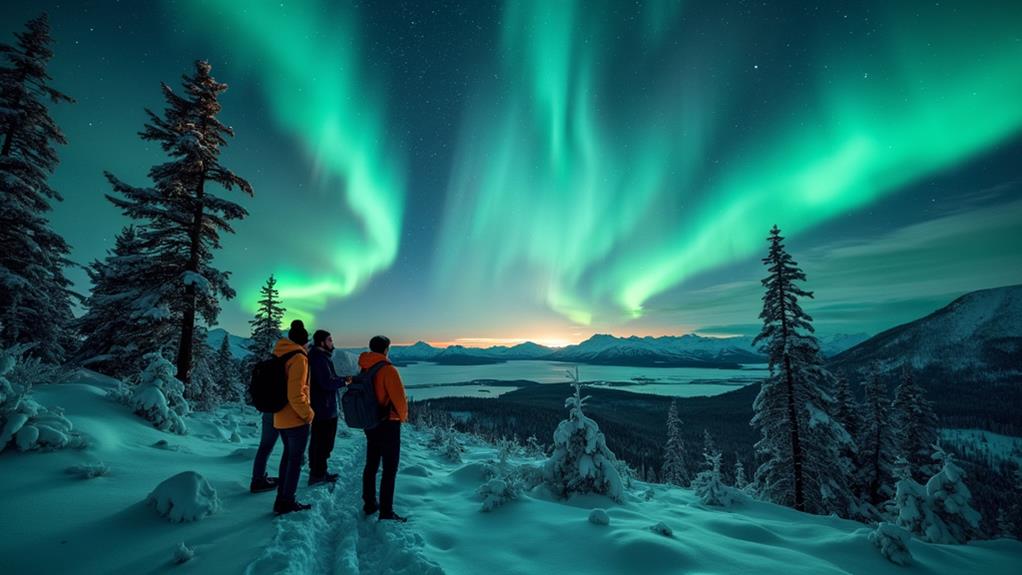
Top Viewing Locations
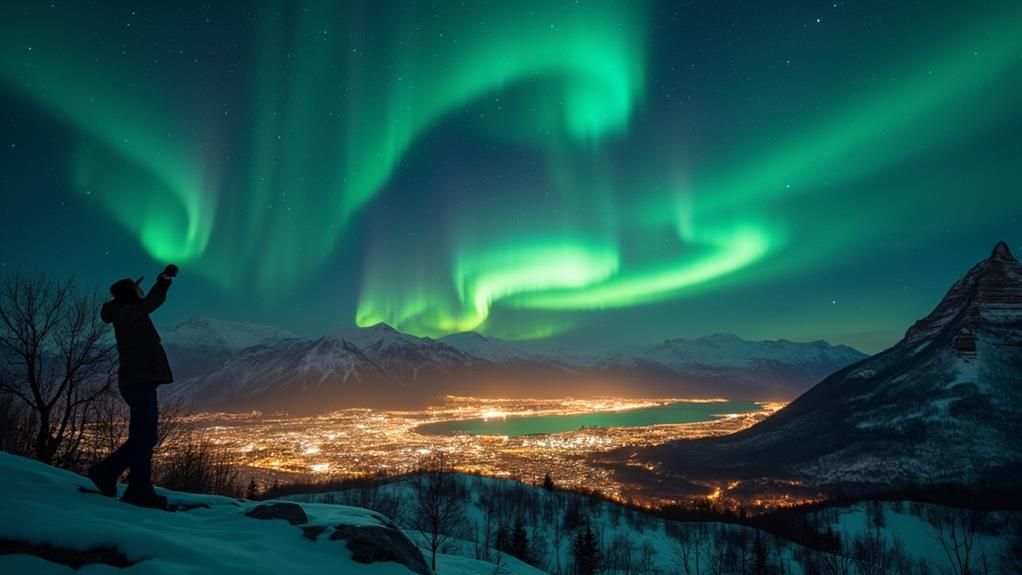
When you're ready to witness the Northern Lights, selecting the right location is crucial. Tromsø, Norway, is a top destination for Aurora hunting, boasting a 70%-90% success rate on clear nights. For a unique experience, head to Abisko National Park in Sweden. Its Aurora Sky Station benefits from a microclimate that ensures minimal cloud cover, making it one of the best places to see the Northern Lights.
In Rovaniemi, Finland, you can enjoy Northern Lights viewing from September to March. This locale in Finnish Lapland offers easy access to stunning natural landscapes. For a truly magical experience, visit Jökulsárlón glacier lagoon in Iceland, where the lights reflecting off the water create an unforgettable sight.
Fairbanks, Alaska, is another prime spot, known for its clear skies and dark surroundings. Local tours during the winter months enhance your chances of catching this celestial show.
Here's a quick comparison of these top locations:
| Location | Highlights |
|---|---|
| Tromsø, Norway | High probability of sightings |
| Abisko National Park | Minimal cloud cover, Aurora Sky Station |
| Rovaniemi, Finland | Scenic settings, accessible from Sep-Mar |
| Jökulsárlón, Iceland | Stunning reflections off glacier lagoon |
| Fairbanks, Alaska | Clear skies, dark surroundings, winter tours |
Choose your location wisely and prepare for an unforgettable Aurora experience!
Best Times to Visit
Planning your trip around the optimal times can significantly enhance your Northern Lights adventure. The best period to witness the Northern Lights is during the winter months, specifically from late September to early April. Peak aurora activity typically occurs between 9 PM and 1 AM, so schedule your nights accordingly.
Aim for a new moon phase to ensure the darkest skies, which will improve your chances of seeing the auroras. High solar activity, which follows an 11-year cycle, also boosts your likelihood of sightings. The next solar maximum, expected between 2023 and 2026, should offer some of the most spectacular displays.
Prime viewing locations include regions like Norway, Sweden, Finland, and Iceland. These areas usually experience clear skies and optimal aurora visibility from December to February. Flexibility in your travel plans, allowing for multiple nights in these locations, will greatly enhance your chances of witnessing the Northern Lights.
Trip Planning Essentials
For the best chance of witnessing the Northern Lights, plan a trip lasting 4 to 5 nights, focusing on peak viewing times between 9 PM and 3 AM during winter. Dress appropriately for extreme cold with thermal layers, insulated outerwear, and waterproof boots. Utilize weather forecasts and aurora alert apps to find clear skies, and consider guided tours for expert insights and an enhanced experience.
Optimal Viewing Times
For your Northern Lights adventure, timing is crucial. The ideal window for viewing the Northern Lights is typically between 9 PM and 3 AM, with the highest chances occurring from late September to early April. To optimize your experience, consider these tips:
- Stay Multiple Nights: Plan to stay for at least 4 to 5 nights. Weather conditions can vary greatly, and a longer stay increases your likelihood of witnessing the auroras.
- Seek Clear Skies: Clear skies are essential for visibility. Planning your trip around new moon phases can also improve the experience by reducing light interference from the moon.
- Use Aurora Forecasts: Utilize apps and websites that provide real-time updates on aurora forecasts and solar activity. These tools can help you identify the best times for potential sightings.
- Be Flexible: Flexibility in your travel plans is important. Weather can be unpredictable, so being able to adjust your schedule based on changing conditions will maximize your chances of seeing the Northern Lights.
Essential Gear Checklist
While identifying the best times to view the Northern Lights is crucial, being equipped with the right gear is essential for a successful experience. Start by packing thermal layers: a wool base layer, an insulating middle layer, and a waterproof outer layer to withstand the Arctic's cold temperatures. Ensure you have appropriate footwear, such as GoreTex boots, to keep your feet warm and comfortable during extended waiting periods.
Photography is an integral part of this adventure, so bring a digital camera with manual mode, a sturdy tripod, and a remote shutter release to capture the Northern Lights effectively. Cold conditions can quickly drain your camera's battery, so carry spare batteries and memory cards to avoid missing any magical moments.
Waiting for the aurora can take time, so stay energized with hot beverages and snacks. A thermos filled with a warm drink can be a lifesaver in the cold, while portable snacks will maintain your energy levels. By following this gear checklist, you'll be well-prepared to enjoy your Northern Lights adventure to the fullest.
Activities in Northern Regions
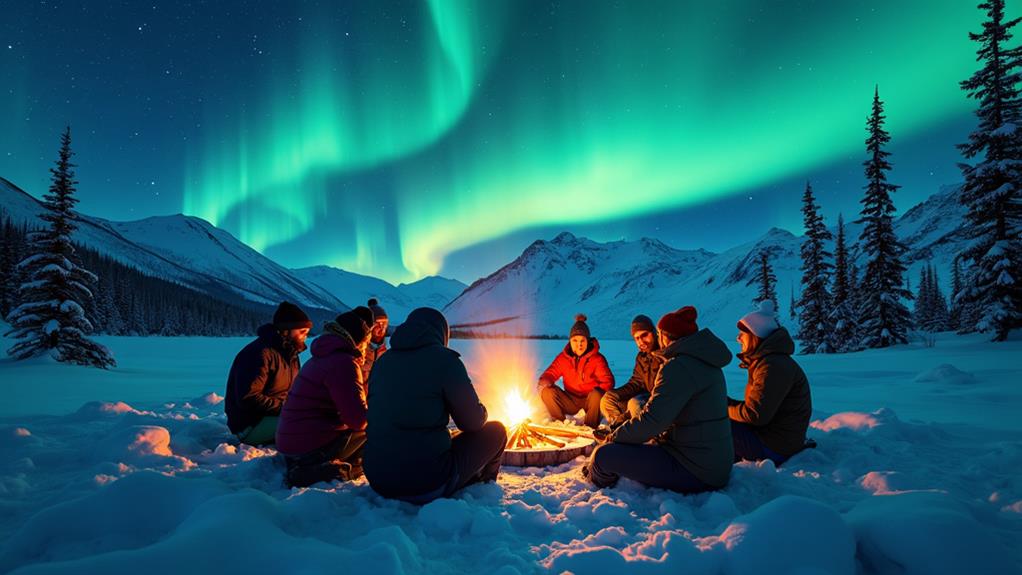
Embark on an unforgettable expedition in the northern regions, where activities like dog sledding and snowmobiling in Tromsø offer unique ways to immerse yourself in the Arctic landscape. Waiting for the Northern Lights to appear doesn't mean you should be idle. Engage in thrilling activities that will make your trip memorable.
- Dog Sledding and Snowmobiling: Experience the thrill of dog sledding and snowmobiling across Tromsø's expansive snowy terrain. These exhilarating activities not only provide adventure but also increase your chances of spotting the Northern Lights.
- Guided Tours: Enhance your journey with guided tours featuring snowshoeing and cross-country skiing. These tours allow you to explore the stunning Arctic surroundings and connect with nature while improving your chances of witnessing the auroras.
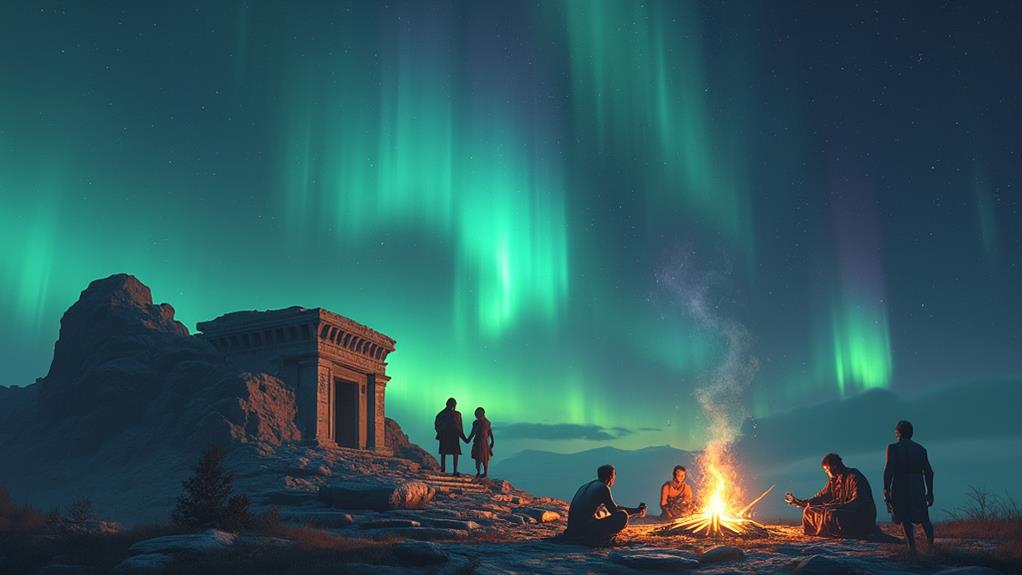
- Cultural Experiences: Visit local Sami communities to gain insight into indigenous traditions. Interacting with the Sami people enriches your expedition, offering a deeper understanding of the region's cultural heritage.
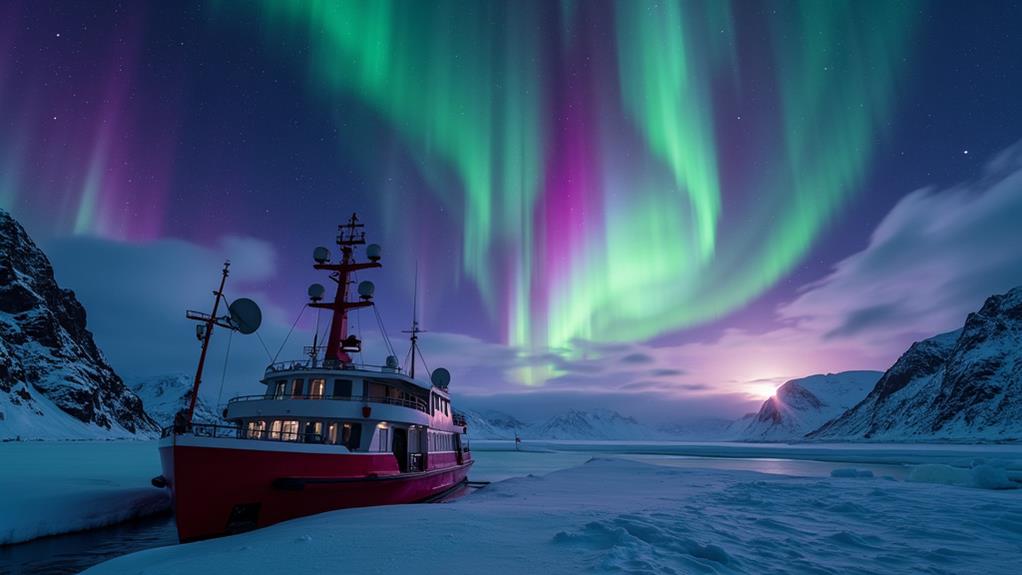
- Scenic Road Trips and Cruises: Embark on scenic road trips through breathtaking Arctic landscapes, perfect for photography enthusiasts. Alternatively, Northern Lights cruises offer a unique view from the winter sea, away from city lights, enhancing your aurora-watching experience.
Engage in these activities to make your Northern Lights tour unforgettable and full of adventure.
Environmental Considerations
As you immerse yourself in the exhilarating activities and cultural experiences of the northern regions, it's crucial to consider the environmental impact of your expedition. Light pollution can significantly hinder your Northern Lights experience, so opt for remote viewing locations far from city lights to enhance visibility. Climate change not only affects aurora visibility but also poses a threat to local wildlife and their habitats. Embracing sustainable travel practices, such as minimizing waste and adhering to local regulations, helps preserve the natural environments essential for aurora viewing.
Understanding the geography of your viewing location is vital. Some areas naturally offer clearer skies and reduced light pollution. Utilize mobile apps and real-time data to track solar activity and weather conditions, enabling you to make informed decisions on when and where to view the lights.
| Consideration | Action |
|---|---|
| Light Pollution | Opt for remote areas to enhance visibility. |
| Climate Change | Respect local wildlife; minimize waste. |
| Viewing Location | Use apps to track solar activity and weather. |
Photography Tips
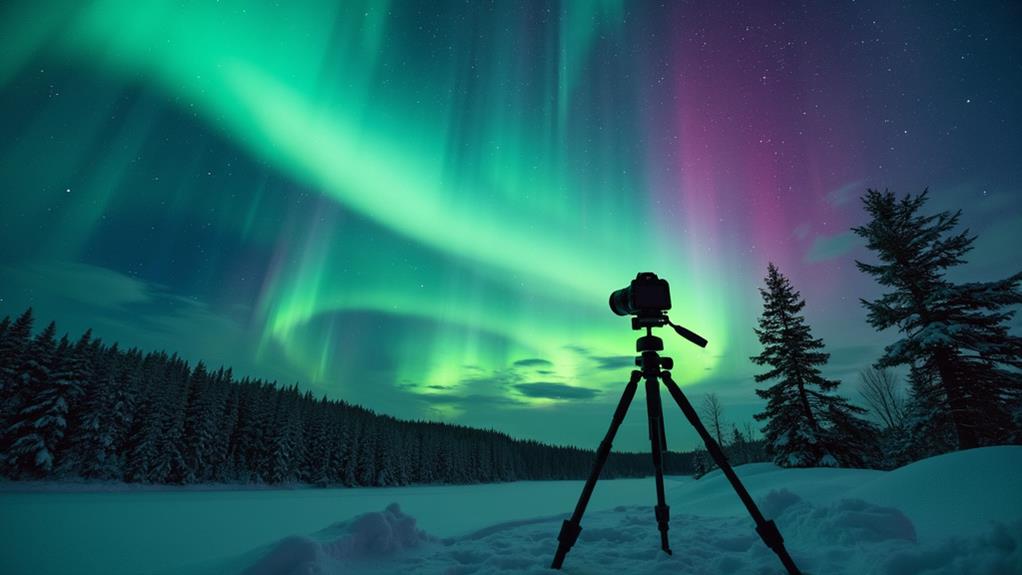
When photographing the Northern Lights, use a digital camera with manual settings, a sturdy tripod, and a remote shutter release for stability. Equip your camera with a wide-angle lens, set the ISO between 800 and 3200, a shutter speed between 2 and 30 seconds, and an aperture of f/1.4 to f/4. Bring extra batteries, memory cards, and gloves that offer finger dexterity to ensure smooth shooting in cold conditions.
Camera Settings Guide
Capturing the mesmerizing beauty of the northern lights requires a keen understanding of your camera's manual settings. Here's how to photograph the Northern Lights effectively by mastering a few key elements: ISO range, shutter speed, aperture, and equipment stability.
- ISO Range: Set your ISO between 800 and 3200. This range is optimal for capturing the faint light of the auroras while minimizing noise.
- Shutter Speed: Use a shutter speed between 2 and 30 seconds. Longer exposures allow more light to hit the sensor but beware of star trails if the exposure is too long.
- Wide Aperture: Opt for a wide aperture, ideally between f/1.4 and f/4. This setting gathers the maximum light, enhancing the brightness and clarity of the auroras.
- Sturdy Tripod and Remote Shutter Release: Always use a sturdy tripod to stabilize your camera during long exposures. A remote shutter release or the camera's timer function helps avoid camera shake when taking the shot.
Essential Gear Checklist
Before heading out to capture the Northern Lights, ensure you have the right gear to increase your chances of success. Start with a digital camera that offers manual mode capabilities, allowing you to control exposure settings for precise aurora shots.
A sturdy tripod is essential for stabilizing your camera during long exposure shots, which ensures clear, sharp images of the aurora. For optimal results, set your camera to an ISO range of 800-3200, a shutter speed of 2-30 seconds, and an aperture from f/1.4 to f/4 to maximize light entry.
Given the cold temperatures, pack spare batteries as the cold can quickly drain them. Also, bring extra memory cards to ensure you don't miss capturing multiple shots of the breathtaking display.
Wear gloves that provide dexterity, keeping your hands warm while allowing you to handle your camera and adjust settings easily. This gear checklist will prepare you to capture the Northern Lights in all their glory.
Composition and Timing
Mastering the art of photographing the Northern Lights requires a blend of technical skill and creative composition. Here are some tips to help you capture the perfect shot:
- Use a wide-angle lens: A focal length of 14-24mm allows you to cover expansive skies while incorporating interesting foreground elements like trees or mountains to enhance your composition.
- Set your camera to manual mode: Adjust the ISO between 800-3200 to manage light sensitivity effectively. This range helps capture the vibrant colors of the auroras without introducing excessive noise.
- Optimize shutter speed: Depending on the intensity of the lights, use a shutter speed of 2-30 seconds. Longer exposures capture more detail but require a stable tripod to avoid blurriness.
- Photograph during the "blue hour": This period, roughly an hour after sunset or before sunrise, provides a beautiful contrast between the auroras and the darker sky, making your photographs more striking.
Related posts