Learning to Use a Vivitar Telescope
While it’s amazing to view the moon, bright stars, constellations, and planets in the night sky through the average naked human eye, observing them gets even more fascinating using a Vivitar telescope. A world-renowned producer of top-notch refractor telescopes, Vivitar helps you see magnified celestial objects above in extraordinary detail. So, read on below as we’ll guide you on using a Vivitar telescope, ensuring that you get the best experience gazing at the beautiful sky using this valuable tool.
What is a Vivitar Telescope?
The type of telescope Vivitar produces is a refractor or refracting telescope. It’s the first type of optical telescope invented in the early 17th century. Despite being devised over four centuries ago, the refractor remains the most popular telescope design for both amateurs and professionals.
It uses an optical system comprising two lenses: a biconvex lens and a biconvex eyepiece. The larger biconvex lens gathers all rays from the light source. It then focuses the light at the focal to create the image. The smaller biconvex eyepiece rests close to the focal point to magnify the image, making it look like the object is nearer to you than it actually is.
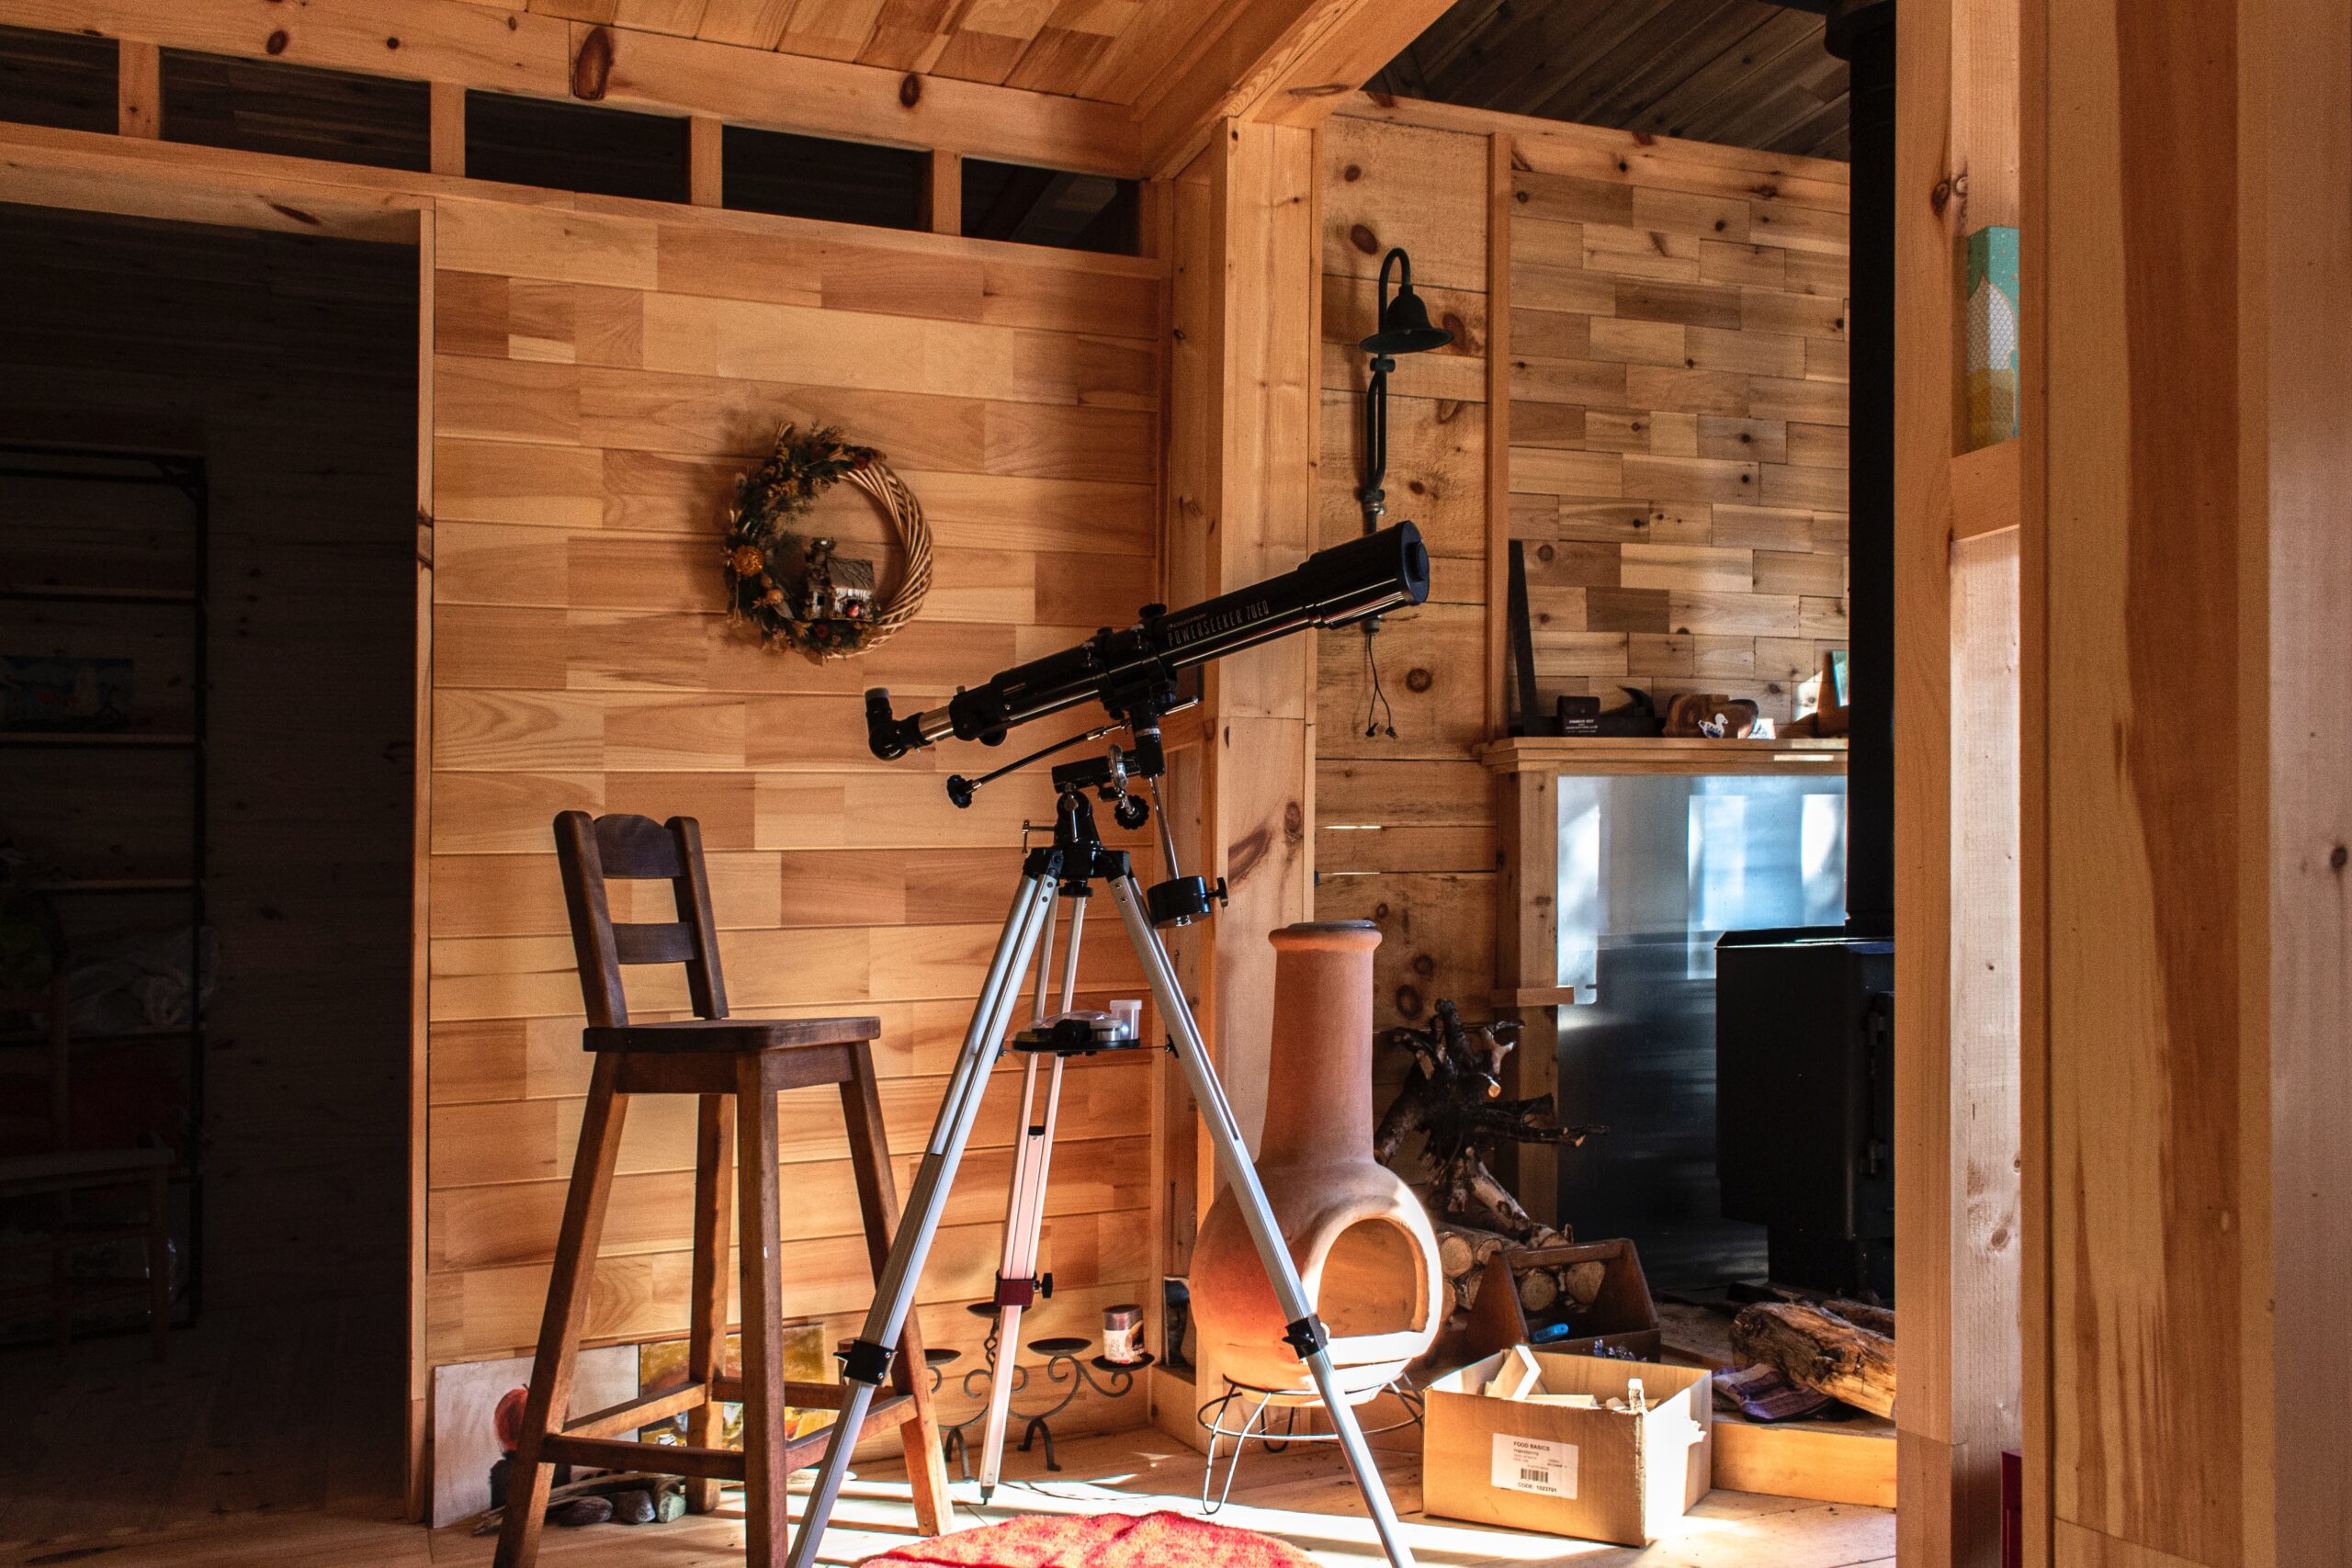
Vivitar telescope comes with two sets of eyepieces. First, a 60x eyepiece that allows you the moon, its craters, and a few bigger planets. Second, a 120x eyepiece offers high-powered magnification for even better and more detailed skywatching.
A tripod and a sighting scope are also included in the package. The former is the three-legged stand that provides stability by helping the telescope standstill. Meanwhile, the latter is an indispensable mini-telescope attached to the bigger telescope. It’s an assisting tool with lower magnifying power but a wider field of view, which you can use to first locate celestial objects before looking at them in the main telescope.

Choosing an Ideal Observing Site
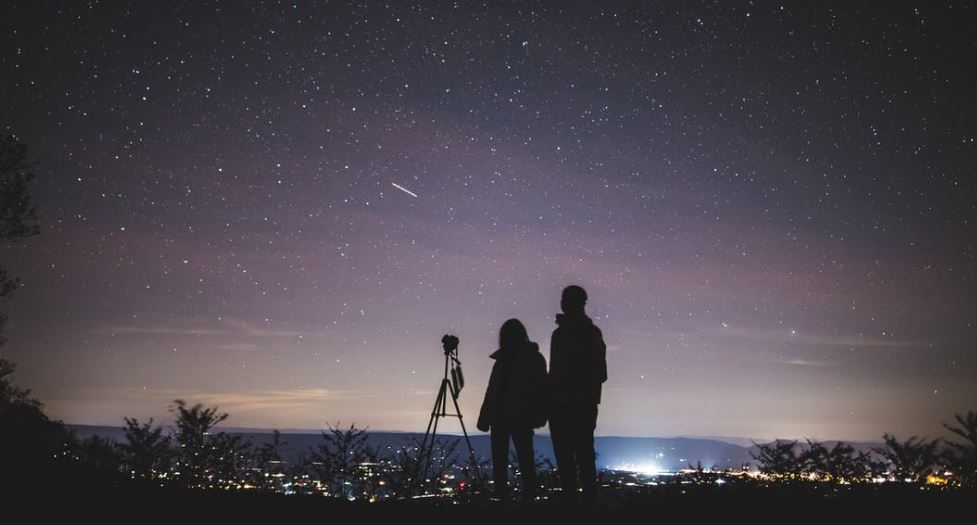
Prior to the actual use of the telescope, you must find an ideal observing site with the best viewing conditions. Finding one involves considering many factors, such as light pollution, atmosphere, weather, and the phase of the moon.
First, ensure that the observing site is free from other light sources. Stay away from street lights, porch lights, and other man-made light sources that may disrupt or inhibit your view of the stars, moon, planets, and other astronomical objects. Turn off excessive or unnecessary lights that will make objects in the night faint and very difficult to observe.
While you can use your Vivitar telescope during the day, it’s best to wait until nighttime before skygazing. That’s because the atmosphere is filled with hot air during the day. As air warms up, air expands and affects the way light passes, refracting it like through a prism and making images blur.
Other outside elements like rain, clouds, and dense fog will also make it harder or impossible for you to stargaze. It’s best to check weather conditions beforehand to schedule the activity when it’s expected to have good weather and clear skies.
Meanwhile, a full moon means the moon is at its brightest phase. That means fewer stars are available to be seen as the moon's brightness drowns them all out. Unless you’re interested in the moon itself, you can get the best views of the stars and other celestial objects by observing the night sky a few days before or after a new moon.
Steps on Using a Vivitar Telescope
After securing an ideal observation site, it’s now time to enjoy your Vivitar telescope. However, be mindful that you need to know how to use it correctly to get the most out of its superb optical capabilities. Here are the steps on how you can do so:
- Bring out the tripod from the box. Lay it on the ground and carefully extend each tripod leg to the same length. Next, tighten all the screws on the tripod’s locking knob.
- Get the wingnuts and long screws from the box. Use them to connect the tripod’s mount bases to each leg stand. Tighten the screws just snugly and not too hard as the tripod legs tend to be very delicate.
- Install the accessory dish to the tripod leg stand by using the allotted wing nuts and short screws and tightening them firmly.
- Connect the pitching shaft to the main telescope tube using the pitching shaft screws.
- Unfasten the left and right blocks situated on the main tube. Afterward, affix the main tube on the main mount. Once done, tighten the blocks along with the pitching clamp handle screw.
- Find the sighting scope and the thumb nuts. Insert the two bolts inside the sighting scope bracket. Whirl the thumb nuts onto the main tube to mount them firmly and directly.
- Choose which eyepiece you’d use, either the 60x or 120x eyepiece. Once you’ve decided, get your chosen eyepiece and install it in the focusing tube. Lock it in position by locking the screws firmly.
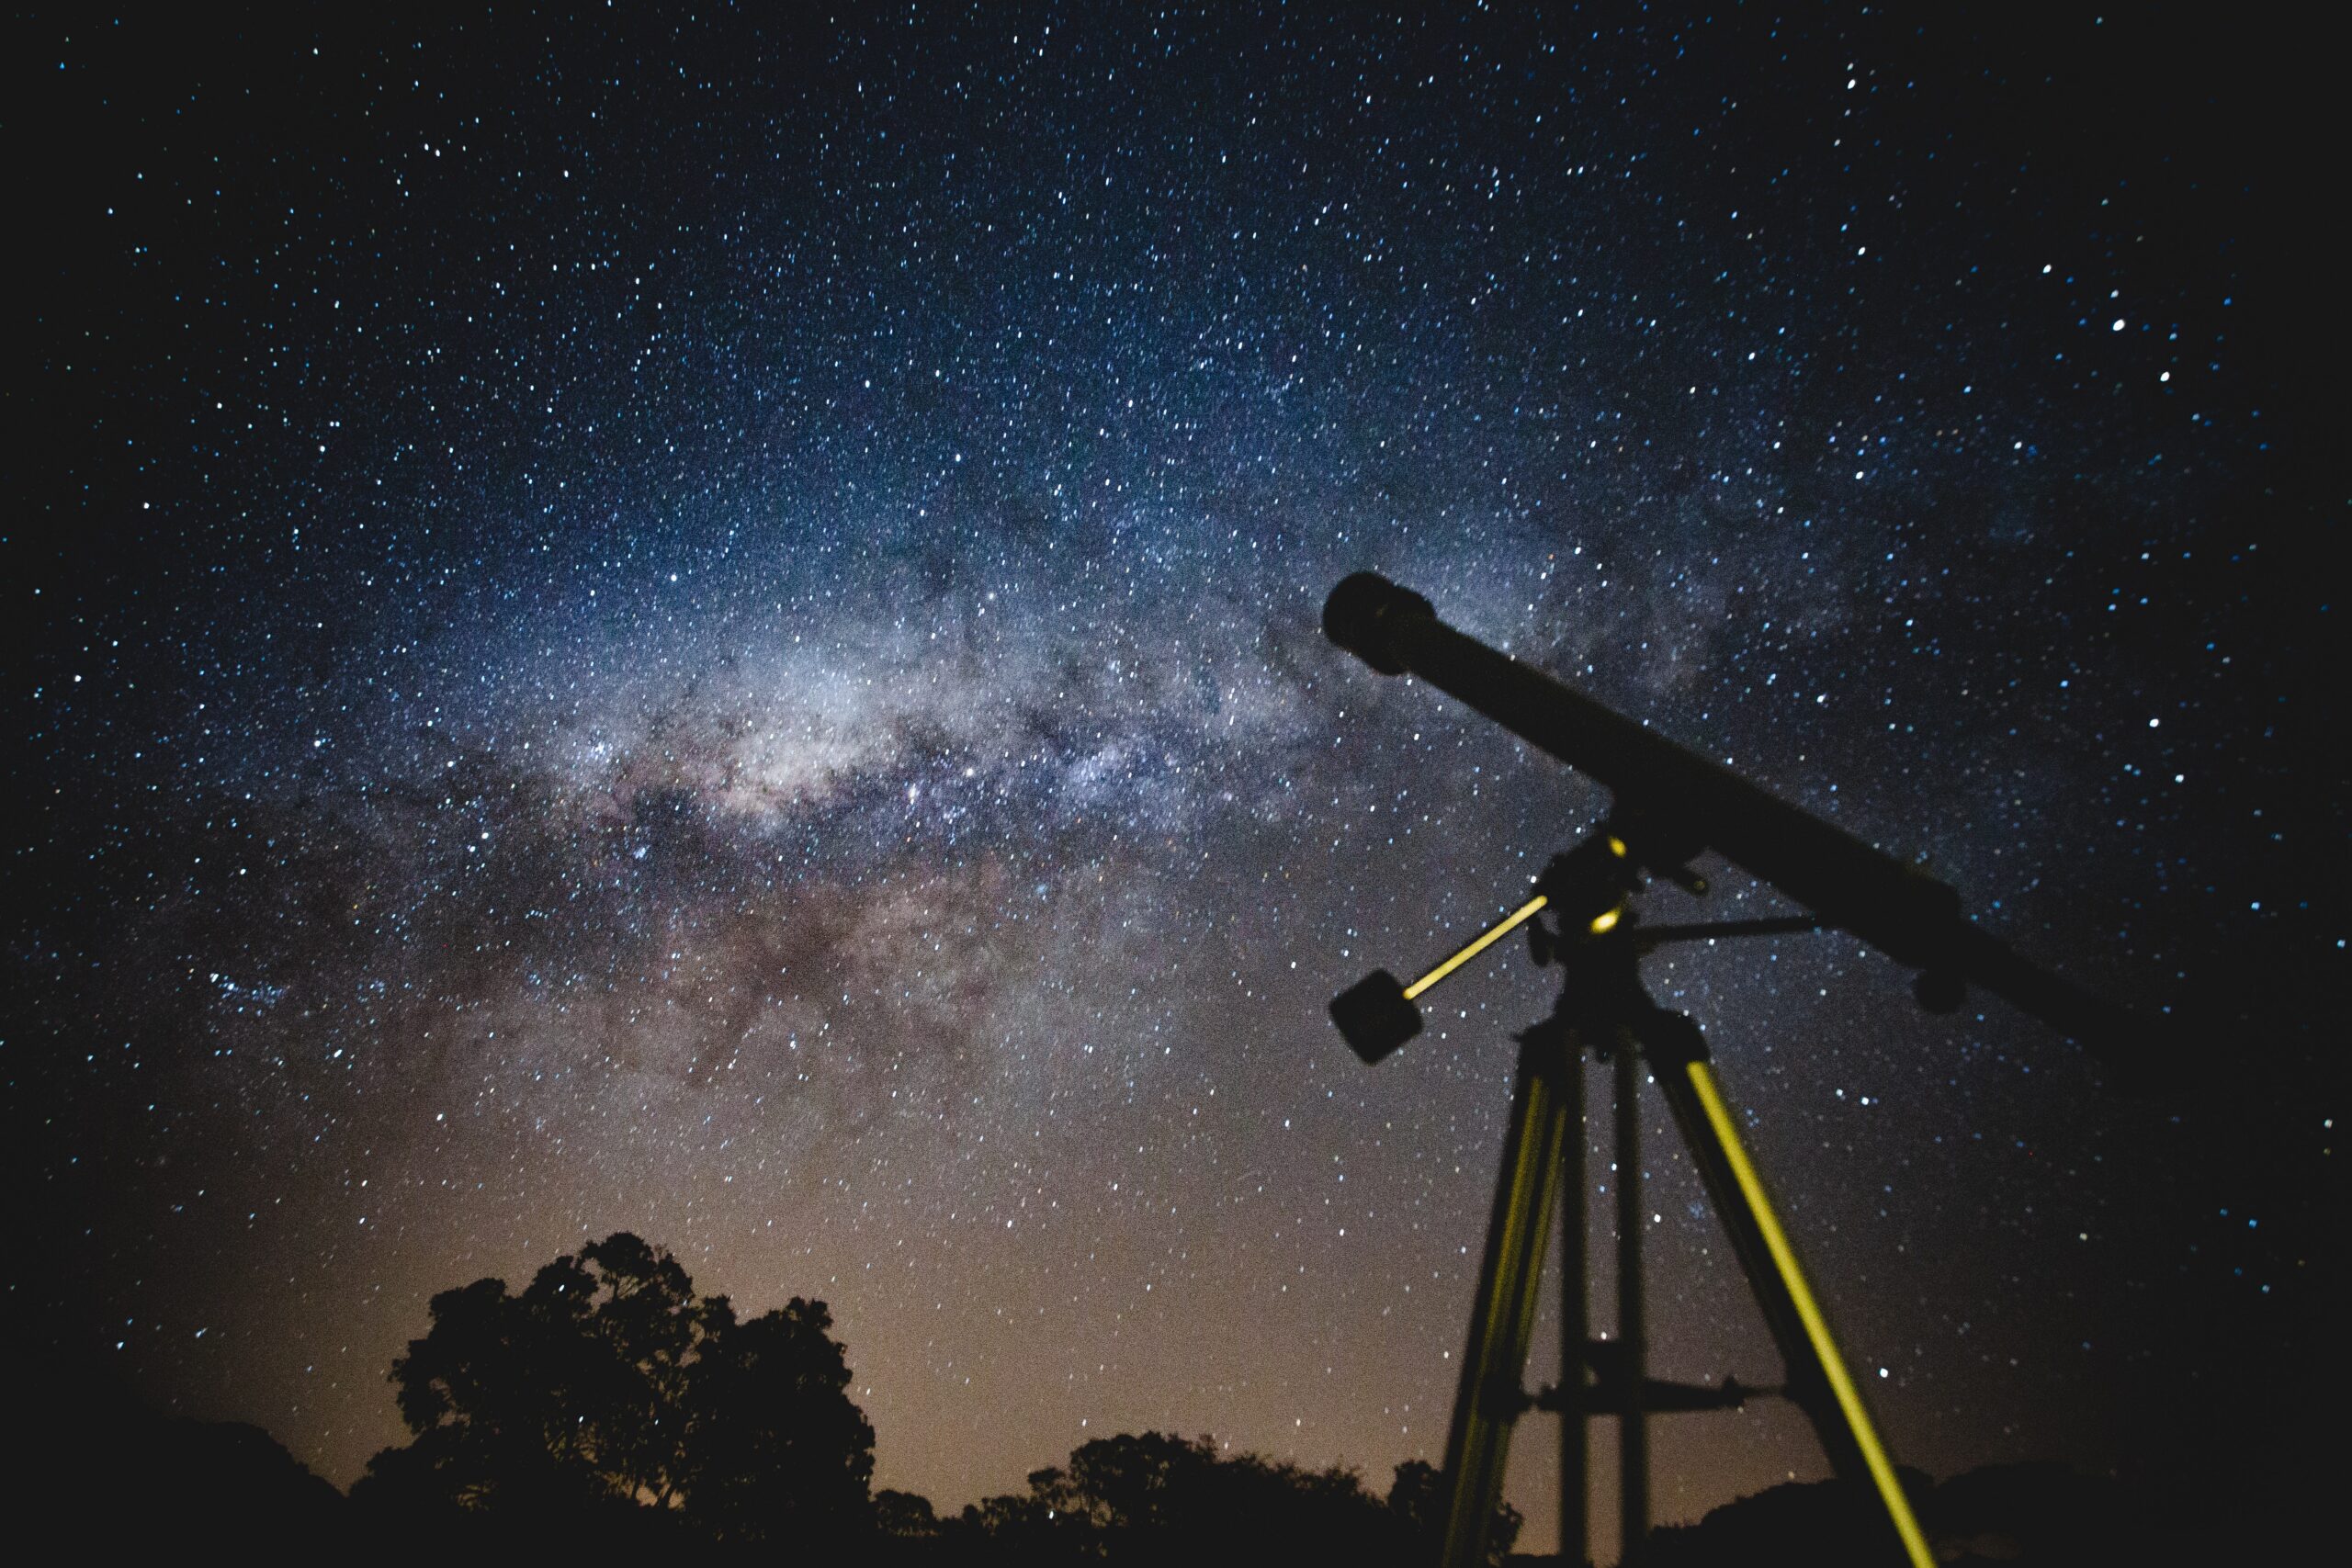
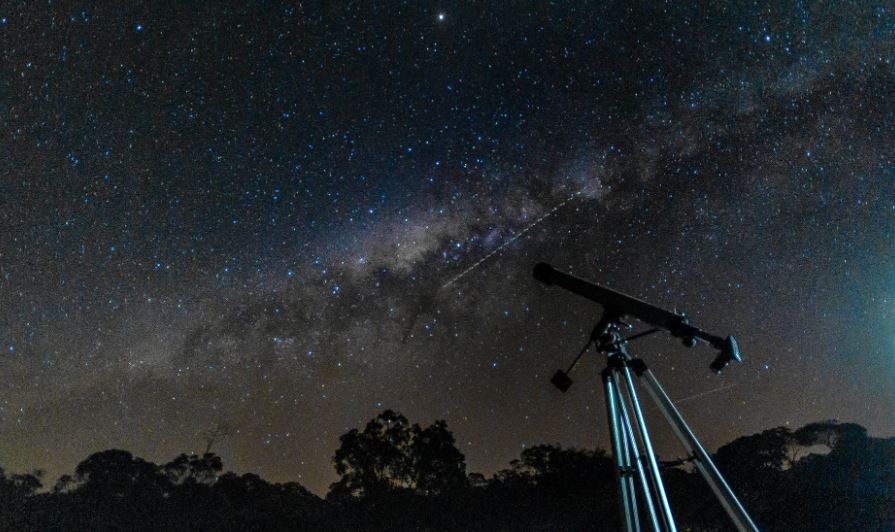
- Look at the sighting scope and aim the telescope at a celestial object. Choose a bright target like the moon or the stars. You can move the telescope from side to side and raise or lower it to point to your target. Adjust the focus knob to make the images sharper.
Important Pointers on Using and Keeping your Vivitar Telescope
- If you’re a newbie or still learning down the ropes, hone your skill by starting with the Moon as your target. It’s the closest heavenly body on Earth, and its relatively bigger size and brightness will help you get the gist of using your Vivitar telescope faster. Once you get better, you can begin observing distant stars and planets.
- Use sky charts as they can help you identify the stars and constellations. It’s a useful tool that even the most experienced stargazers and astronomers use.
- Under no circumstances should you point your telescope to the sun. Looking at the sun directly with your naked eye is dangerous. Using a telescope to stare at it is far worse!
- Maintain the longevity of your Vivitar telescope by handling it with utmost care. Store it in the box when not in use. Observe extreme caution when handling and removing your telescope's lenses and the other parts.
- Use a gentle cleaning solution should a need to clean the lenses arises. Make sure that it’s not stronger than mild soap and water, and use a soft cloth for cleaning and wiping to avoid any damage.
Takeaway
A Vivitar telescope is your best choice to witness the engrossing space and celestial bodies. However, be mindful that it’s still a precision optical instrument, so take your time learning how to use it. The more time you invest, the better you will be at it. Soon, you’d be able to use it smoothly and appreciate all the beautiful objects visible outside Earth.
Related posts