Using a Bushnell Northstar Motorized Telescope
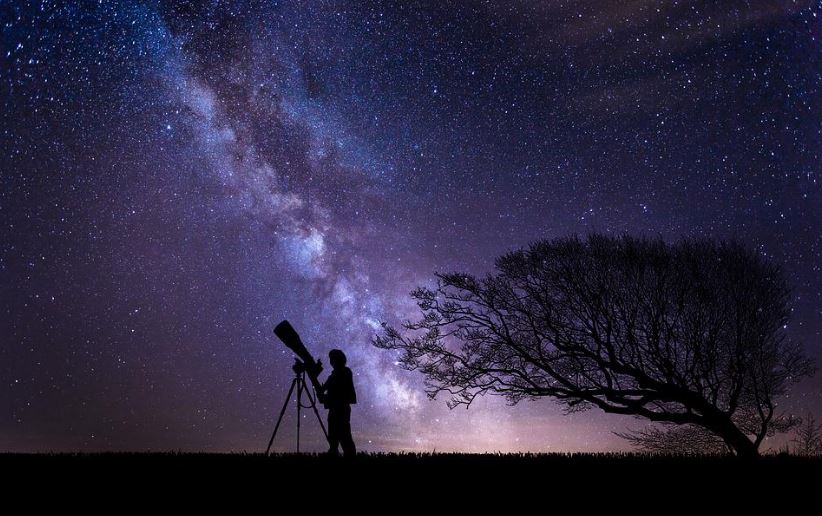
Telescopes are our gateway to the universe, allowing us to see distant objects like the moon, stars, planets, constellations, galaxies, and other objects in outer space. It’s an indispensable investigative tool in Astronomy that helps us see the far reaches than the average naked human eye and gain a new perspective of the night sky.
Bushnell is a renowned producer of telescopes and provides its users with some incredible views of the heaven at economical prices. Their Northstar motorized telescope is among the best bargains you can find in the market, boasting excellent features like computer-driver locating and tracking ability, Red Dot sighting scope, simple push-button controls, RVO (real voice output), and an amazing programmed database of over 20,000 celestial objects.
What’s great is that it also eliminates purple halo and spherical aberration, which can make images appear out of focus or blurry.
While the product may seem a bit sophisticated, don’t fret as it’s ideal for beginners and intermediate astronomers. You’d be surprised how it’s easy to use, provided that you can follow a few simple steps.
So, read on below as we’re here to guide you on using a Bushnell Northstar Motorized Telescope and start exploring and experiencing the cosmos in detail.
Bushnell NorthStar Motorized Telescope: An Overview
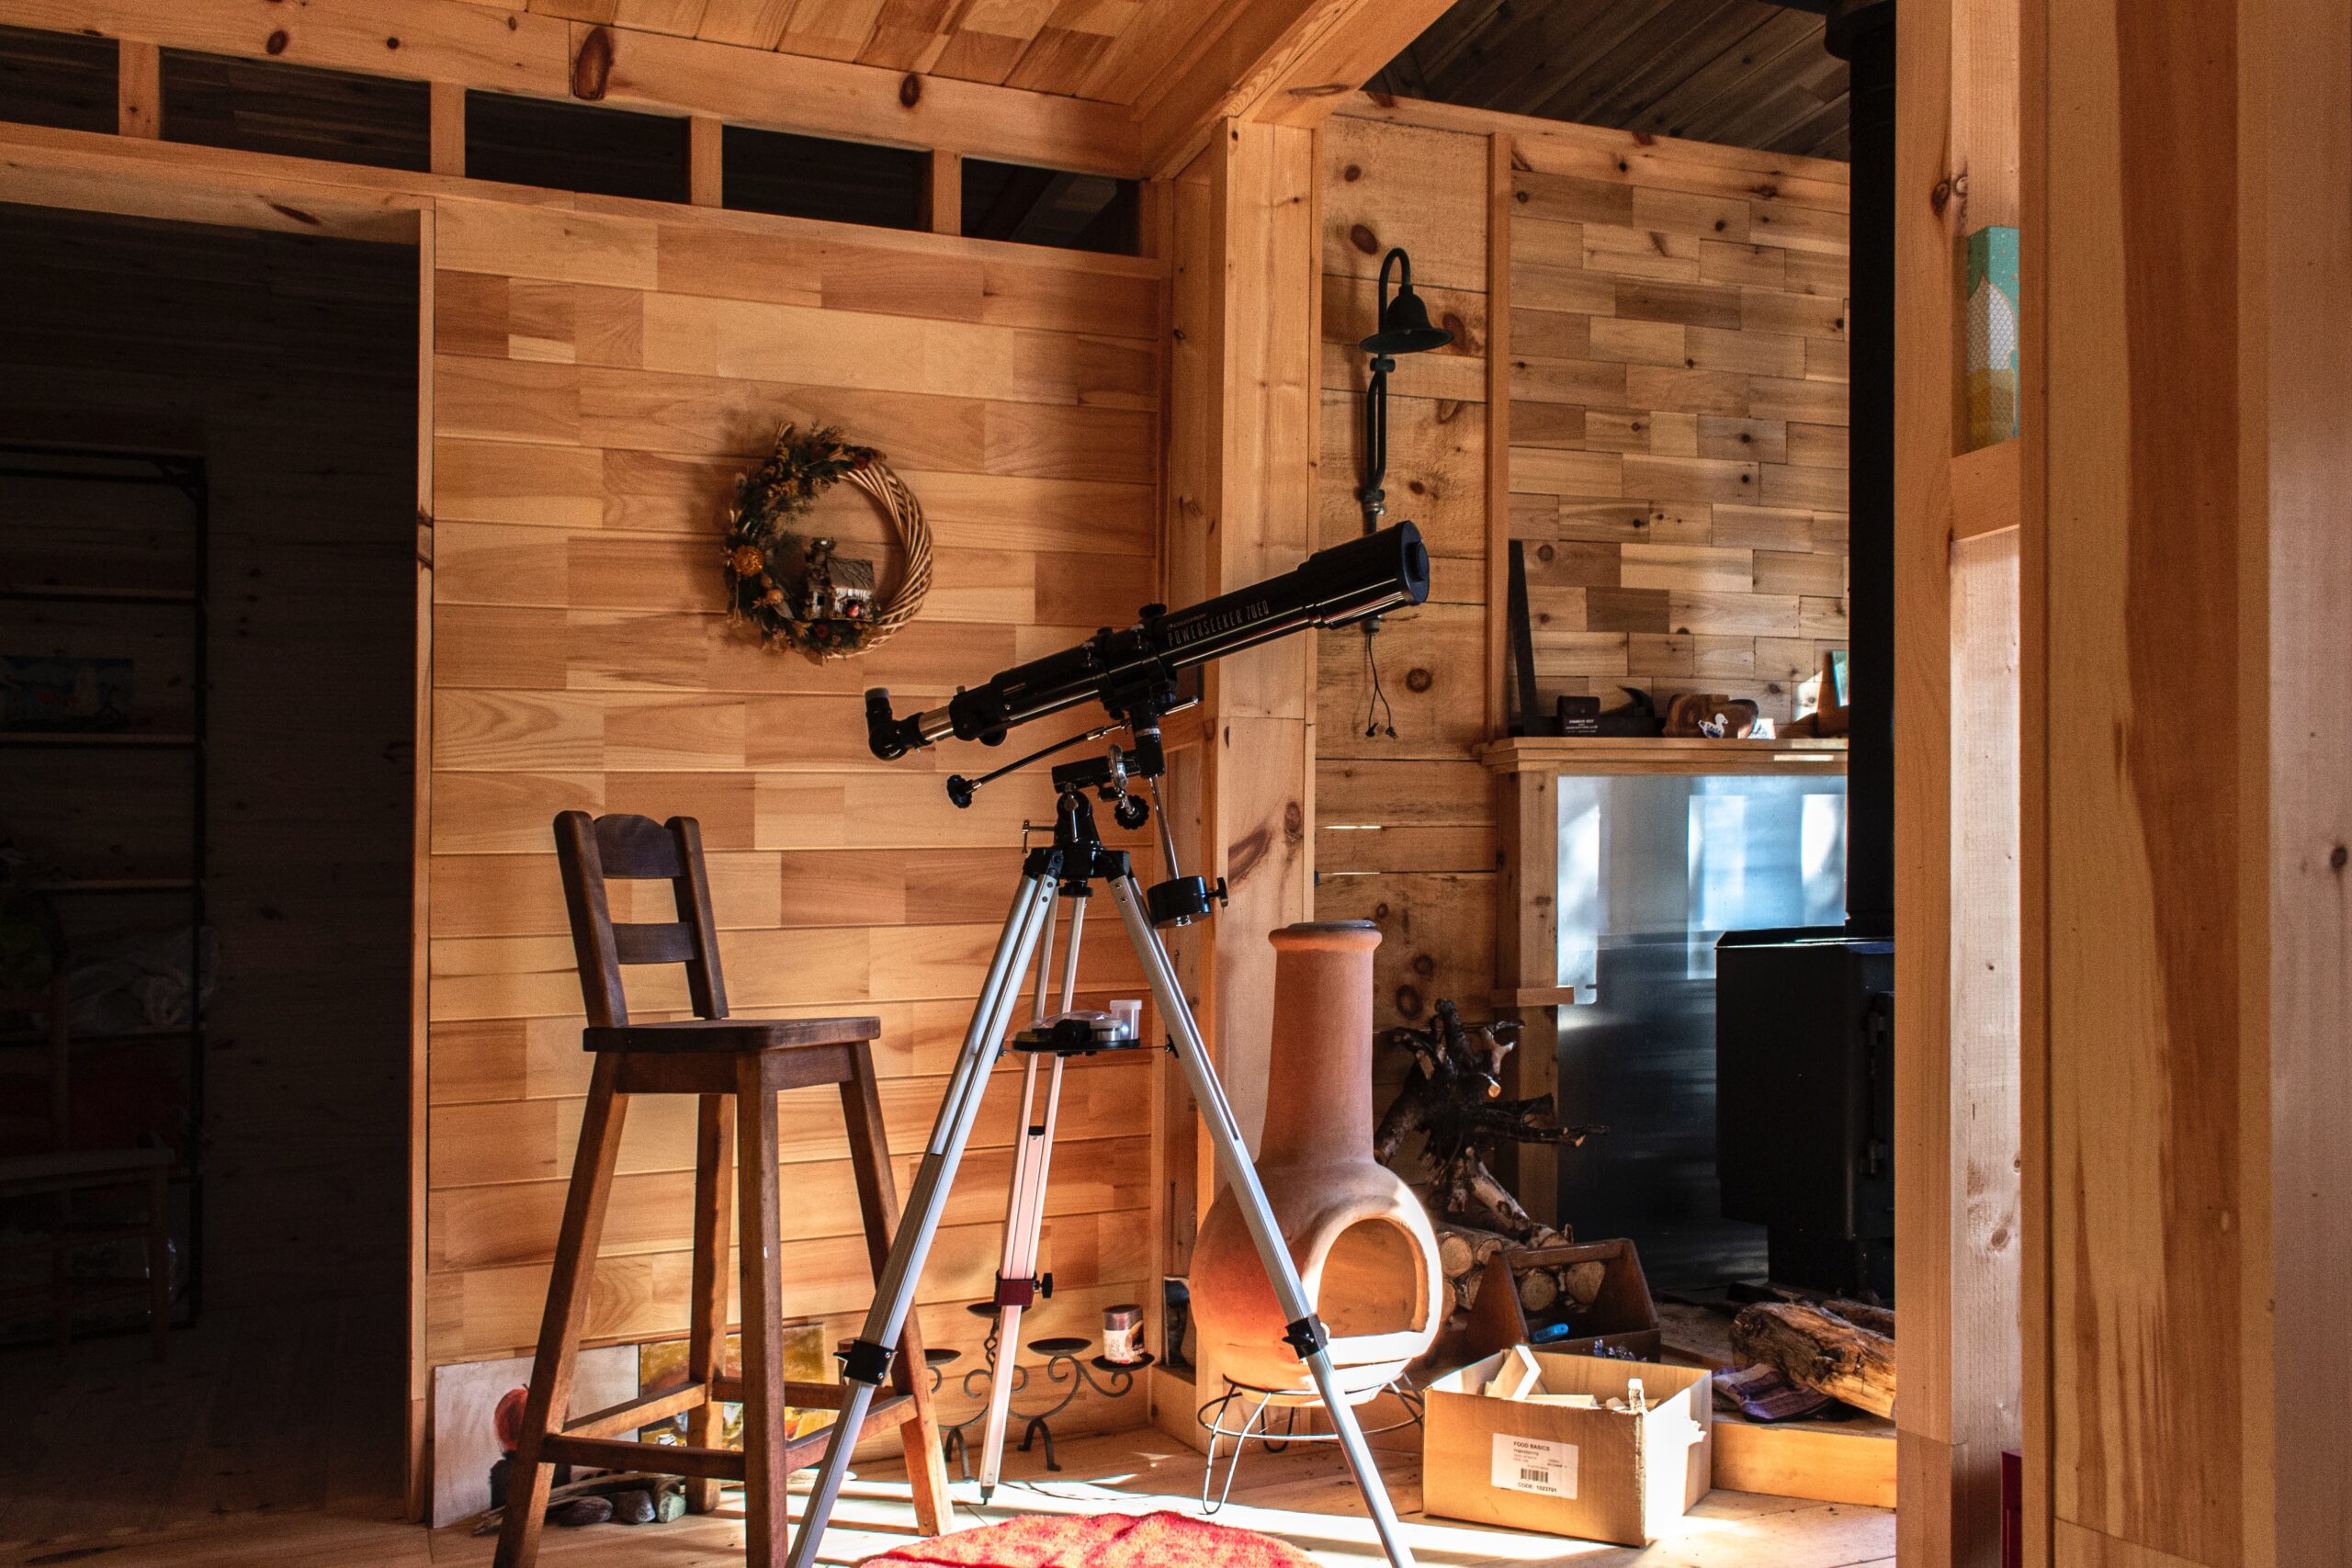
The Bushnell NorthStar Motorized Telescope is a reflector telescope. Unlike refractors using lenses, reflecting telescopes utilize mirrors to collect light and form the image. A set includes the main telescope, two magnifying eyepieces, a Barlow lens, a tripod, and a sighting scope.
The two eyepieces are comprised of the low-powered and the high-powered one. The former is intended for viewing larger and extended celestial objects, such as massive galaxies and star clusters. Meanwhile, the latter is for viewing specific astronomical bodies in detail, like the Moon and the planets.
On the other hand, the Barlow lens is a diverging lens used alongside the eyepieces. It boosts the optical system’s effective focal length and doubles the eyepieces’ magnifying power. It also comes with a computerized Alt-Azimuth mount with computerized tracking of the celestial objects aided by its wide database.
All you need for a pleasurable and memorable viewing of the night sky and the space objects are already included in the kit. With that, it’s no wonder that Bushnell remains one of the go-to telescope producers, thanks to their unit’s incredible capacities.
Steps in Setting Up and Using a Bushnell NorthStar Motorized Telescope
Like other reflecting telescopes, you don’t need to use other tools in setting up and using the Bushnell NorthStar Telescope. Just take all the parts from the packaging carefully and lay them down orderly so you won’t have difficulty locating and identifying them once you’re assembling the telescope.
Devote extra caution and attention when attaching the parts, especially to the computer, eyepieces, Barlow lens, computer, and telescope. They can be pretty delicate and render your optical system useless if broken.
Here are the steps in setting up and using a Bushnell NorthStar Motorized Telescope:
- Find the computerized star locator assembly. Once you locate it, set the tripod stand in a balanced and upright position and affix the computerized star locator assembly. Extend the tripod legs suitably afterward.
- Place the accessory tray down on the ground and put the “quick release accessory tray” atop. Gently turn the accessory tray until it has snapped itself towards its designated place.
- Get the tripod legs. Open the lever so you can adjust the height of the tripod. Once the preferred height is set, shut it firmly using the clamp.
- Take the main telescope tube and remove the thumb nuts situated at its side. Attach the tube attachment’s primary bolts to the main telescope bracket. Ensure that the telescope in right-side-up, pointing in the correct direction.
- Fasten all the thumb nuts to the primary bolts attachments firmly. Note that this should be done only after the computerized star locator assembly and main telescope tube have been successfully set up.
- Attach the remaining accessories to the telescope. Start with the red dot sighting scope. Find the sighting scope assembly and the attachment nut bolts. Then, connect them to the main telescope tube.
- Choose your preferred eyepiece (low-powered or high-powered). You will see a focusing mechanism inside the main telescope tube where to place and screw the eyepiece. Tighten and secure it over so that all accessories are now set in the main telescope.
- Take the dust cover of the objective lens to open and make the whole diameter visible.
- Once done, you’re now ready to enjoy your Bushnell NorthStar Motorized Telescope. Identify which object would you like to view. Aligning the sighting scope properly so you’d be able to see a clear, sharp, bright image of your targeted object.
Important Tips on Using a Bushnell NorthStar Motorized Telescope
- Start with the low-powered eyepiece. It has a 20mm magnification, which is a good start as it will be very comfortable for your eyes. That way, you can also get accustomed to using the telescope.
- Never start with the high-powered eyepiece, as your eyes require time to adjust to the sights.
- If you’re a beginner, it’s also best to view brighter stars, planets, or the Moon. They’re easier to target and help you hone the necessary skills to see deeper celestial objects.
- If you don’t see any image on your eyepiece, readjust and realign the sighting scope again. Soon, you’ll be able to do this with ease and get a more seamless skygazing experience.
- Once you get the gist and your eyes have adjusted, you can move to the high-powered eyepieces. You can view everything in more detail and appreciate its beauty and glory. For instance, you’d be filled with awe seeing the Moon’s ridges, mountains, and sweeping lava fields.
- Be mindful that the planets, the Moon, and other objects will move away from your field of view when using a high-powered eyepiece. Just adjust your telescope when necessary to follow their track.
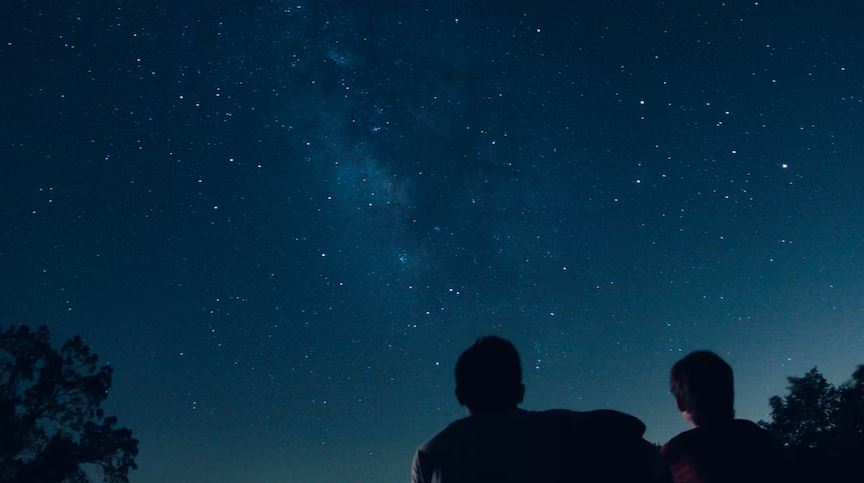
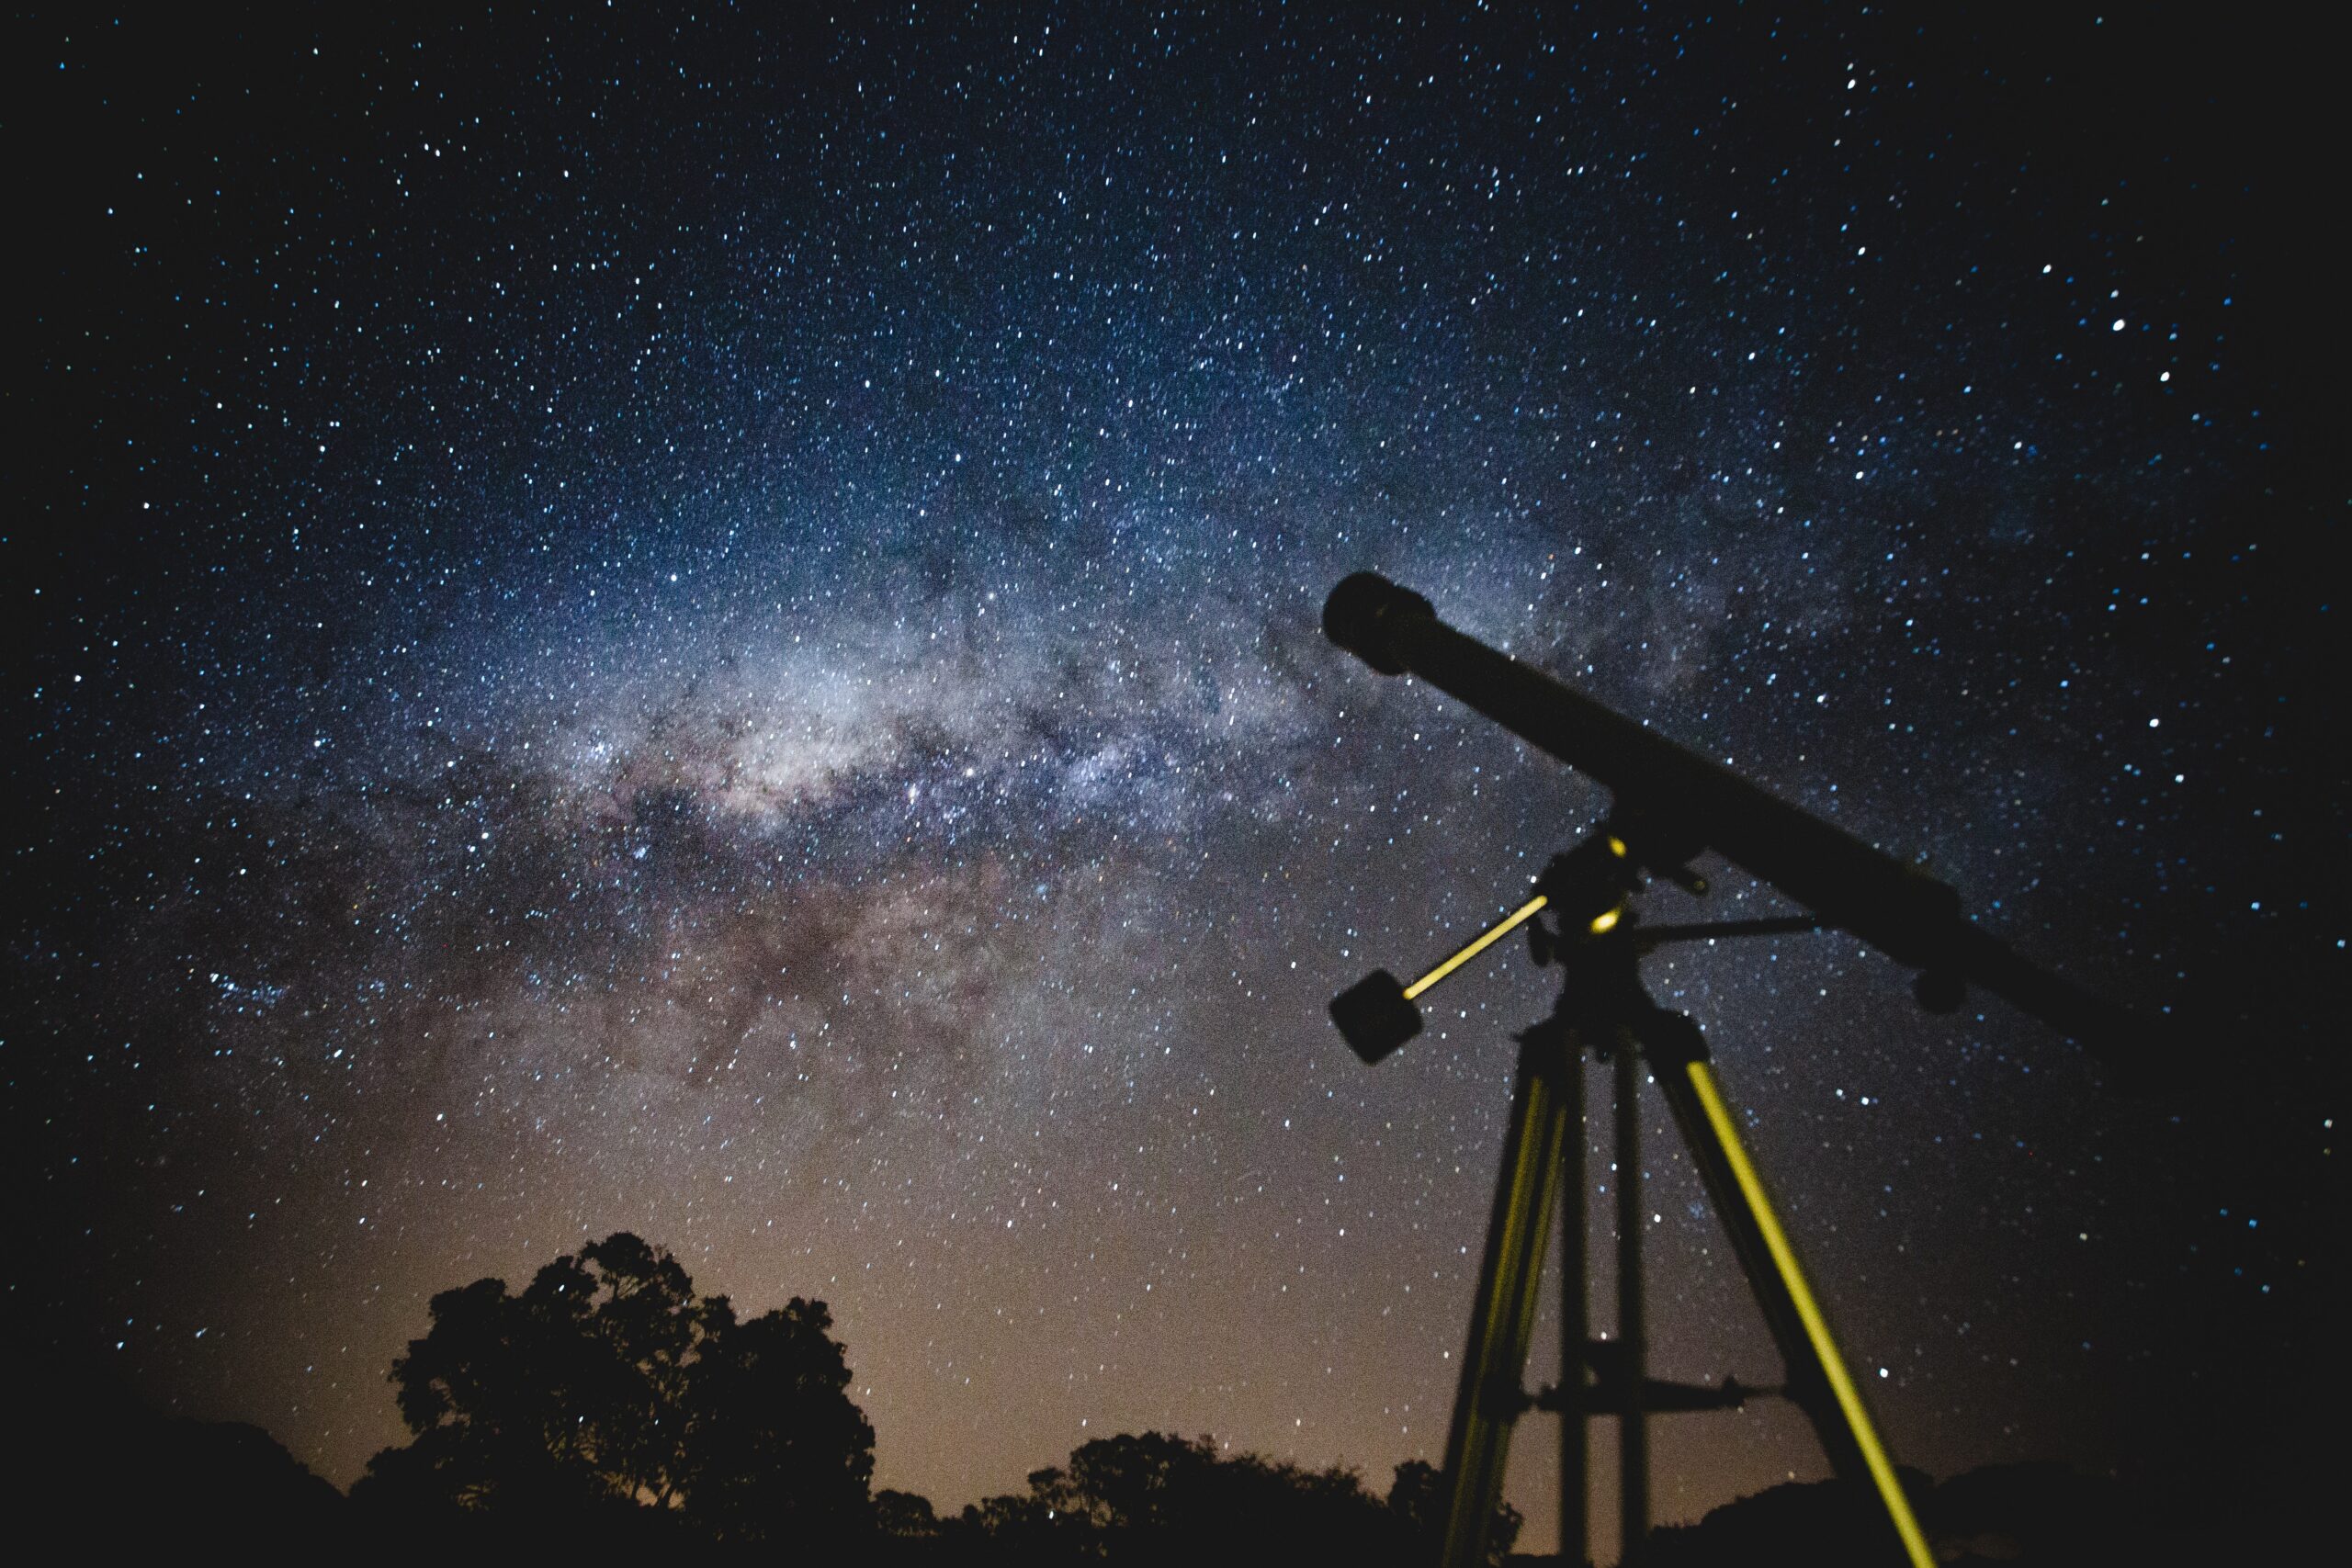
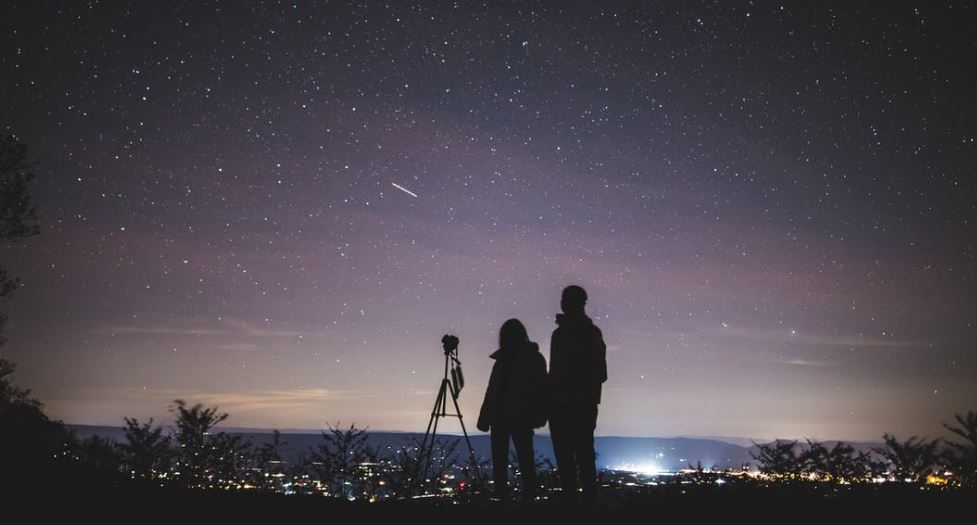
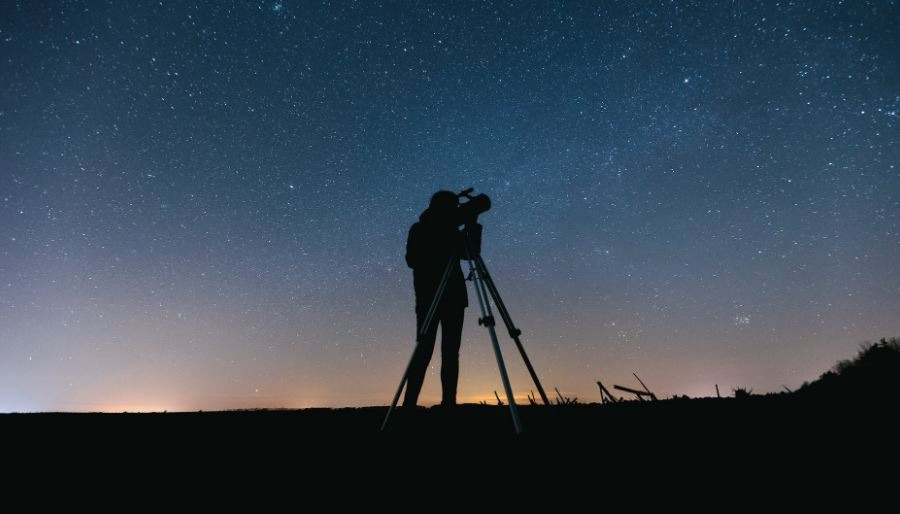
- Always find an ideal observing site free from light pollution. Steer away from street lights, porches, and tall buildings as they will affect your stargazing experience.
- Check the weather reports for the weather conditions. Wait for clear skies for the best viewing results.
Final Words
Space is ever-changing. As the Earth revolves around the sun, changes in the views occur hourly and yearly. That means there’s no room for boredom as there’s always something new to look forward to, like new stars and constellations. Elevate everything with one of the best reflector telescopes on the market - the Bushnell NorthStar Motorized Telescope. Learn to use this powerful tool and expect to get a memorable experience exploring the vast, perplexing, and alluring cosmos.
Related posts