Create a Starry Night on the Ceiling with Illumaglow Paint
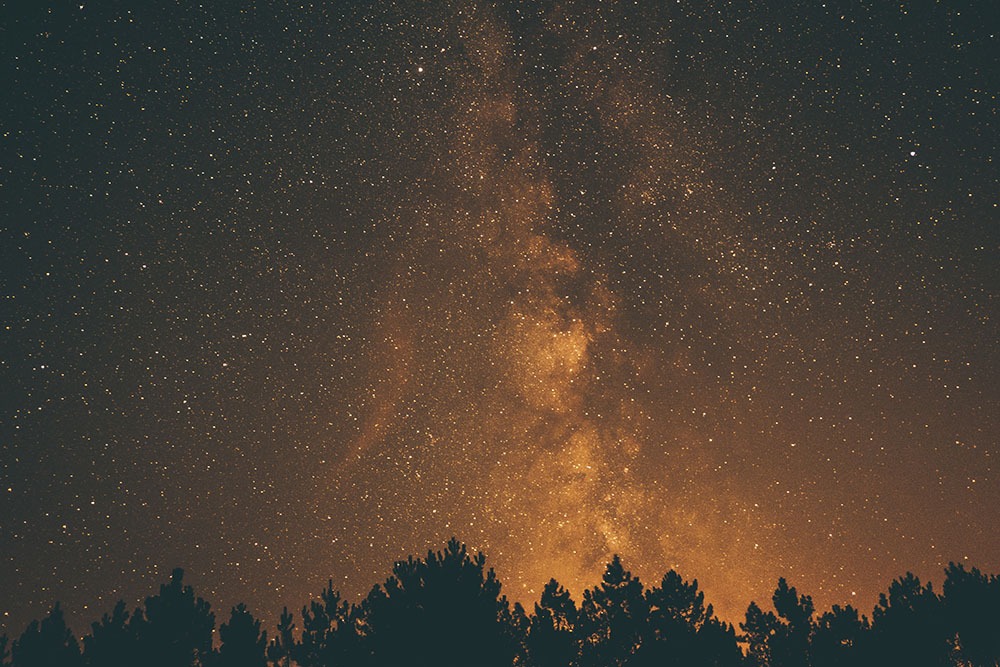
Whether it’s from your backyard, an observatory, or at a stargazing party, watching the bright gleaming stars in the skies leaves anyone filled with awe, evokes a different sense of emotion, and provides a grounding experience and different perspective on the world we live in.
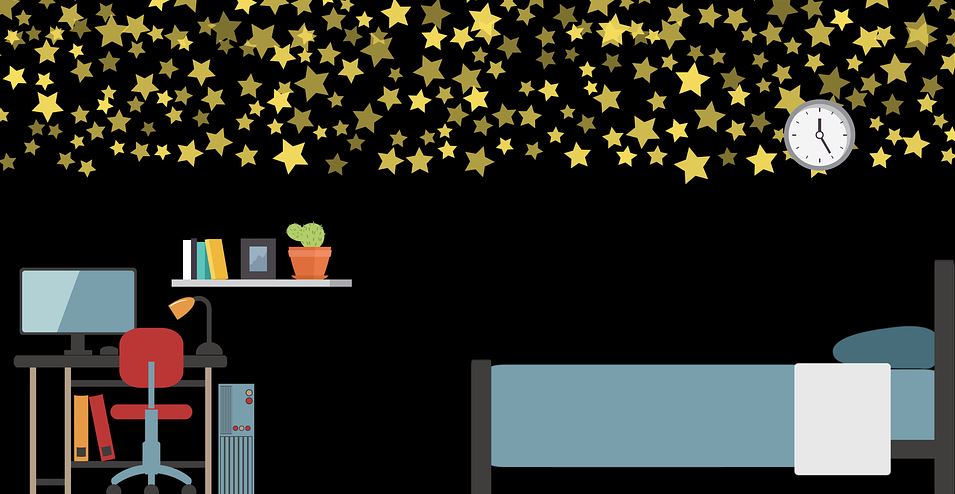
Luckily, relishing its beauty doesn’t have to stay outdoors. If you’re staying most of the inside, you can bring them to you. You can create a starry night on your ceiling using Illumaglow paint and appreciate the majestic allure of the stars, be it day or night, or both.
So, start reading below as we’ll help you make your ceiling the perfect canvas for that heavenly scene in your room and make every night a euphoric adventure in space!
Step 1: Conceptualize
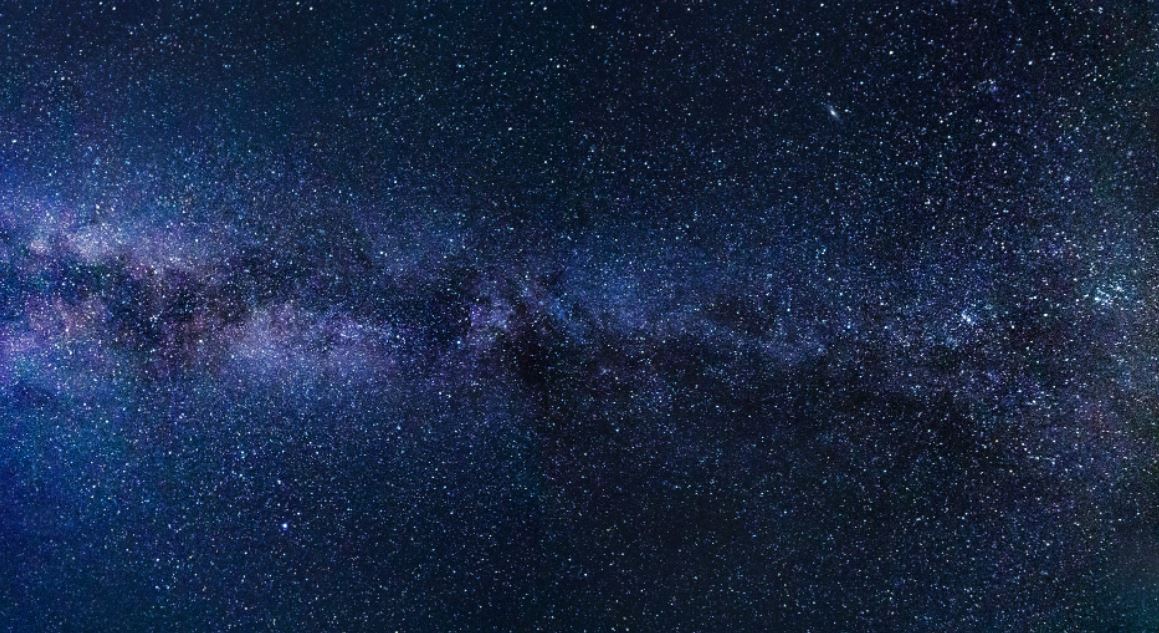
Before getting things started, it’s vital to first imagine what you want your starry night ceiling to look like. Be mindful that there are around 10,000 stars visible to the naked human eye, taking account of all directions around Earth.
That’s a very small percentage, considering that there are 2 trillion galaxies and 200 billion trillion stars in the entire universe! A septillion stars are within the observable universe, while 400 billion stars are present in the Milky Way alone.
However, don’t get overwhelmed. You don’t need to include all those stars. There are various ways you could decide what to draw in your very own night sky.
First, you can visit NASA’s website. They have a feature called ‘Hubble Birthday’ where you only need to input your date of birth and see what image the Hubble telescope snapped that day. Knowing that the photo was captured on your special day, you can use it as an inspiration and make it personal.
Perhaps, you’ve been in a planetarium instead and attended one of their presentations, providing a vivid representation of the night sky, filled with stars, planets, comets, nebulae, and other astronomical objects. That can also serve as a good foundation for your design.
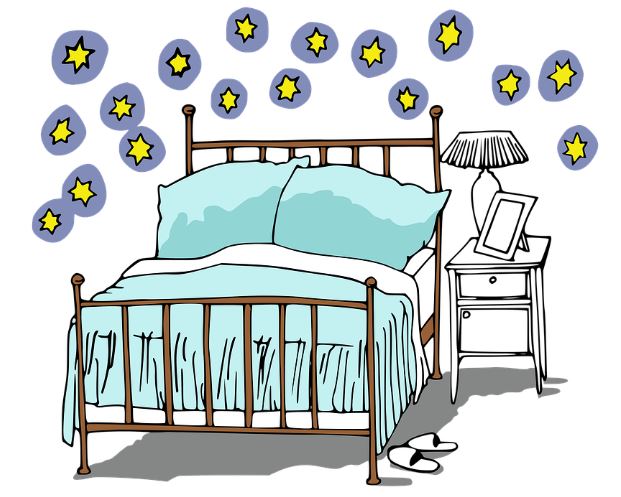
If you’re creating a starry night ceiling for your kids instead, you can use a simple constellation chart copied onto the ceiling using Illumaglow paint. It’s an excellent way to decorate your children’s ceiling not only keeping them charmed but also helping them learn about the different groups of stars.
All these can help you visualize what kind of starry night you’d like to create indoors.
Step 2: Prepare the Room
Once you have decided on a final design, the next step is to prepare your room. Expect that the project will be a big mess. Move small furniture, portable objects, and other items that might block your way and prevent you from freely reaching to your ceiling.
If you have larger pieces of furniture that are harder to move, you may simply cover them with cloth. If you have lighting fixtures, disassemble them if possible or cover them with plastic. Just tape the switch so no one may inadvertently turn it on should you decide to keep them. Once clear, clean up your ceiling from dust and cobwebs.
Step 3: Practice
Before you start taking on the real task, it’s best to test and practice your drawing skills on paper or a piece of cardboard. If you’re having a hard time or aren’t satisfied with the results, buy stencils kits instead. Stencil kits come in various designs from stars to planets, moons, and other celestial bodies, which you can use to easily work and paint shapes on your ceiling.
Step 4: Paint the Ceiling
It’s now time to do the real project. Here’s the list of the things you’ll need to create the starry night on your ceiling.
- Googles
- Gloves
- Newspaper
- Paint (various colors)
- Paintbrushes (various sizes)
- Sponges
- Newspaper
- Stencil Kits
- Ladder
First, lay the newspaper on the floor to catch any dripping paint or spillage. Use goggles and gloves for your protection. For your safety, make sure that the space is also well-ventilated by opening the doors and windows.
Second, start painting the backdrop of your galaxy and the larger planets or celestial objects. You can paint free-hand or use the stencils kits and trace out the general shape using the paintbrush. Let the backdrop dry.
Third, begin painting the stars and constellations after the backdrop has dried. Always look at your design to assess which ones to draw first. You can use your gloved finger to make gaseous star clouds should your layout require it.
Fourth, once you're done with the bigger details, you can paint random smaller stars to finish your galactic mural. Use a medium-sized and small-sized paintbrush and scatter dots across the ceiling. It will provide an illusion that stars are either closer or further away. Moreover, make sure not to place the dots in a uniform space to make it realistic.
Other Tips:
- Painting an entire ceiling can be overwhelming, especially if you're doing it in a larger room. To make things easier, it’s best to divide your ceiling into four to eight sections. By doing so, you know what to do in order and get a sense of fulfillment once you accomplish a certain section.
- Utilize different colors of paint to create an ethereal effect, especially for the nebula.
- Use sponges and paintbrushes to give your ceiling some depth and texture.
- You can use a wall sealer to protect it from moisture, fungus, and algae that may be present in the ceiling. Through that, you preserve all the time and effort you invested by making sure that your masterpiece lasts long.
- Add a lamp or projection system for added effects and make your starry night ceiling even more majestic.
Wrapping Up
By following these steps, your canopy of shimmering stars and other astronomical objects is within your reach. Gather all tools, get your glow paint and add your ingenuity - you or your kids can now enjoy the starry night sky and the deep space in your home day or night.