Tips and techniques in Astrophotography
Most people think, or perhaps you also had hesitations whether to pursue your hobby in astrophotography or not because of cost issues. It's expensive! Taking beautiful photos of the night sky and the celestial objects in the vast galaxies entails a big expense because of all the equipment you need to purchase just to capture picture-perfect shots and scenes up there when the darkness hovers.
But if you cannot help yourself love to photograph the night sky, there are a few ways to do it without spending much but not compromising the quality photos that you ever dream of capturing. It takes time to practice and master the art of taking pictures under limited resources. However, once you learn the process, astrophotography becomes a much more manageable urge.
If you wish to take photos of the night sky but don't know how to start, here are some tips to help capture dramatic images of the night sky.
Even just in your backyard, balcony, or at any outdoor open space, you can take good photos of the night sky, whether you target the stars, constellations, or the Moon if you know the capacity of the instrument that you will use.
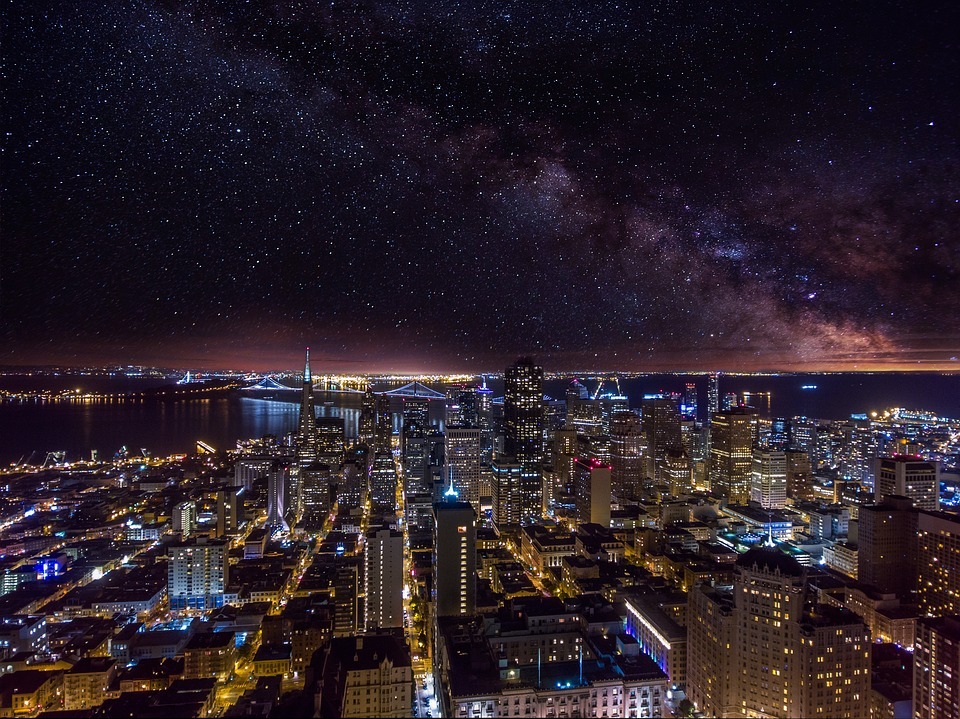
TIP#1: FIND THE DARKER SIDE OF THE SKIES
Although this is not a must when doing astrophotography, but for beginners, this could really help as there are many light distractions in the night sky, especially when there is much light pollution to complicate the matters. You may also look for an app or a website that can help you determine how much light pollution is in your area.
Once you have identified a nearby spot for your night activity, it is better to visit it earlier during the day to find the safest spot where you can better set-up your equipment and identify potential compositional elements.
TIP#2: FAMILIARIZE YOURSELF WITH ASTROPHOTOGRAPHY SETTINGS
The amount of available light, effects on the photos, etc., will matter to the settings you will use. Here is a good base setting for beginners:
Focus - Manual
Aperture – For better sharpness, use the lens's largest aperture or one or two stops below it
ISO – ISO 800 or ISO 1600, but when the final photos are still dark, try ISO 3200.
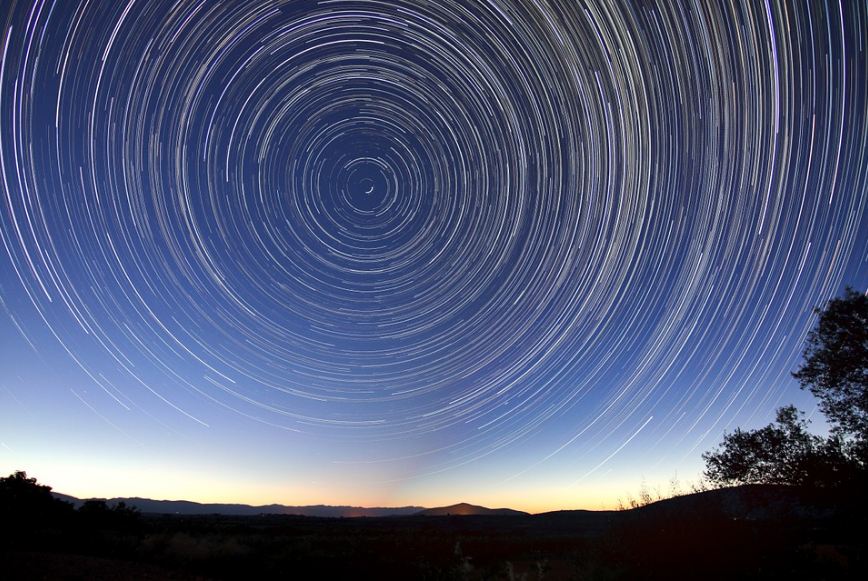
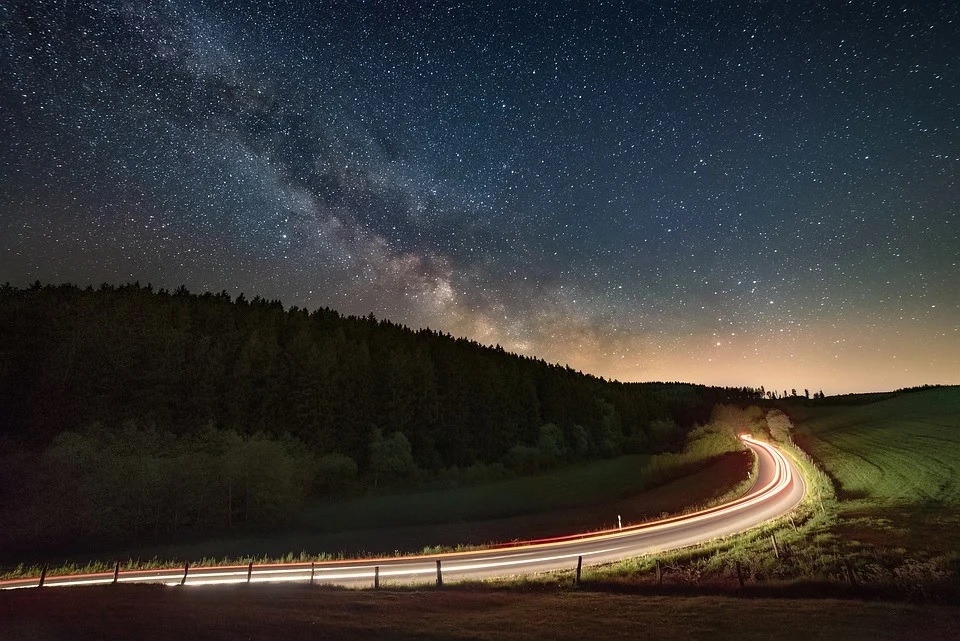
Shutter Speed – this depends on the shot you want to achieve (i.e., do you want sharp, pinpoint stars or star trails?).
For sharp, clear stars: use the Rule of 600 (for some, 500). To avoid photographing the star's movement as the Earth rotates, calculate your shutter speed by dividing 600 by your lens's focal length.
When using a 14mm lens, 42 seconds is the longest shutter speed you can use without introducing star trails. But if you use a 28mm lens, you can use 21 seconds shutter speed.
Reversely, if you wish to capture star trails with a 14mm lens, you must use a shutter speed that exceeds 42 seconds by a good amount to achieve long star trails.
TIP#3: USE MANUAL FOCUS
This applies when you aim for stars or the Moon as the subject of your photo. Your lens will not simply autofocus on stars, so leave it on manual. You can focus manually on a bright star (or the Moon) using live-view and 10x zoom. If shooting the Moon, focus on the edge or the limb. To avoid vibration, use a remote shutter or timer when the shot is taken. The stars are distant suns, so if you wish to capture their colors, use daylight white balance. The camera can often see hues of pale blue, orange, and occasionally deep red that your eye will not.
Camera Settings for Focusing the Lens:
Mode: Manual or Bulb
Lens Mode: Manual Focus
Aperture: F/4 or below
White Balance: Daylight or Auto
Exposure: 30-seconds or Bulb
ISO: 1600 or above
The exaggerated settings aim to allow as much light as possible to reach the sensor. You will be able to capture many stars in the live view display once your lens is set at ISO of 12800 and set your lens to F/2.
TIP#4: USE THE CAMERAS DELAY TIMER OR A REMOTE
Leaving the camera's shutter open for an extended time while the dim lights from space are collected helps capture as much light as possible to achieve long exposure images. This is tricky as you need the camera to be still and free from any little movement that will ruin the image captured. However, you can always use the camera's built-in delay timer settings to achieve a clean and clear shot.
TIP#5: USE ASTROPHOTOGRAPHY PROCESSING SOFTWARE
Perhaps the most meticulous but fun part of astrophotography is post-processing. You can either use Lightroom or Photoshop to enhance or transform the images you have captured so that they become more stunningly beautiful.
Setting White Balance (RAW Mode) RAW image format allows you to be free with whatever you wish to do with the photos that you have taken. When opening it in Adobe Photoshop, it will enable you to manipulate your raw image files in powerful and dynamic ways.