A Quick Guide to Astrophotography
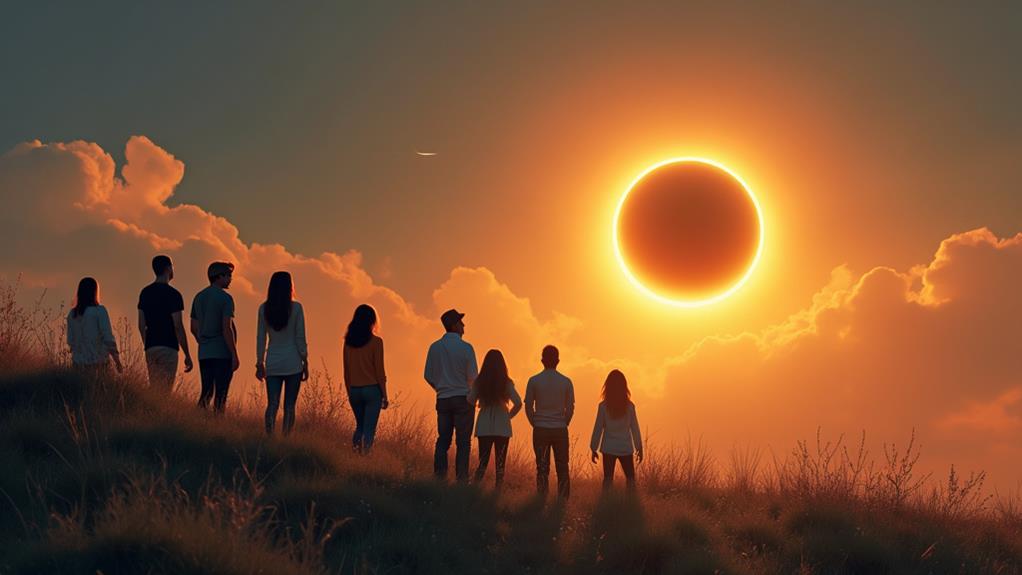
Photographs are taken to preserve an event's beauty or object, and astronomical objects are too beautiful not to be photographed.
Astrophotography, also called astronomical imaging, is the photography of astronomical objects and other celestial events and areas of the night sky. The first-ever photographed celestial object was the Moon, and it was taken during the 1840s.
Detailed stellar photography started during the late 19th century with the emergence of advanced technology. Astrophotography extends to photographing objects invisible to the naked eye, such as the stars and galaxies. Images are captured through long-time exposure. Both film and digital cameras rack up and sum light photons during this long processing time.
Professional astronomical research has been able to record many new stars and nebulae not visible to the human eye thanks to extended exposure times. Astrophotography is a discipline under amateur astronomy that seeks to capture aesthetically pleasing images instead of scientific data. Amateur photographers usually have a variety of special equipment and techniques to use.
Astrophotography usually uses long exposures since film and digital imaging devices can accumulate light photons over long durations. You can increase the amount of light that hits the film or detector by increasing the diameter of the objective being used. Astronomical imaging is often done in remote locations to allow long exposures without having the film or detectors be flooded with stray light.
Currently, astronomical photography is a popular hobby among amateur astronomers and photographers. There is a wide range of techniques, from digital cameras on tripods to methods geared for advanced imaging. A lot of these amateur astronomers and telescope makers also make use of modified devices and homemade equipment.
Images are generated on many types of imaging devices like 35 mm film, video cameras, simple amateur-level and professional-level commercially manufactured astronomical CCD cameras. They can also use digital single-lens reflex cameras, single-lens reflex cameras, and even webcams to adapt to long-exposure imaging.
EQUIPMENT SETUP
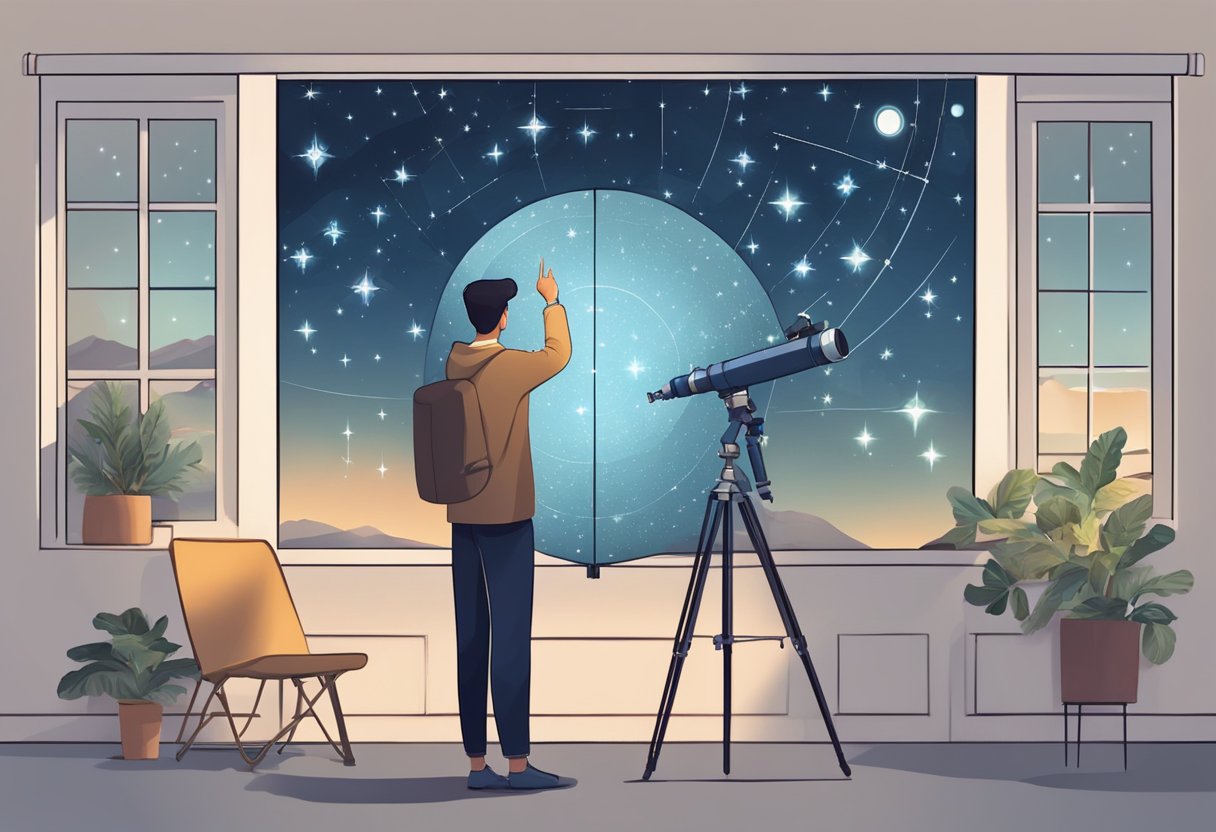
Fixed or tripod
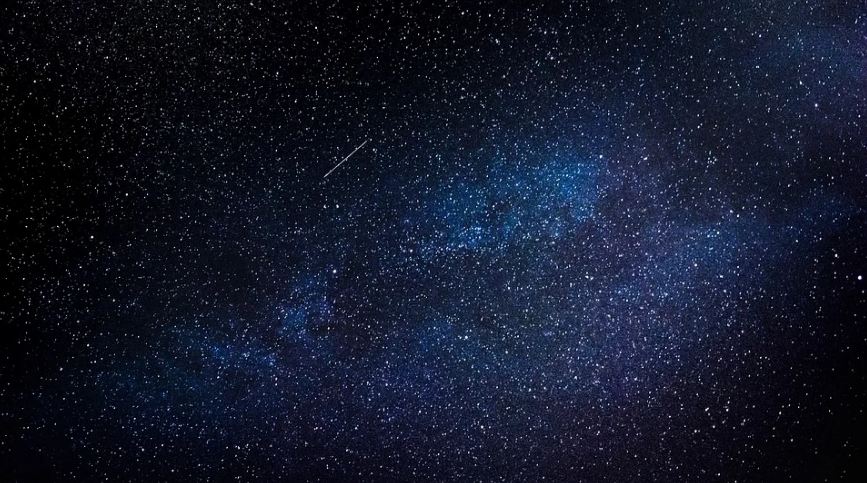
Astronomical photographs' basic types are usually done with imaging devices mounted in a fixed position or on a tripod. Sometimes, objects or landscapes in the foreground are composed in the shot. Astronomical objects usually captured are constellations, meteors, and bright comets.
In addition, there must only be a short one-minute exposure time. Due to the Earth's rotation, the star's point image may become a long line. Focal lengths of camera lenses are usually short, and longer lenses show images trailing within a matter of seconds.
Astrophotography has a rule of thumb called the 500 rule. The rule states that the maximum exposure time in seconds should equal 500 over the lens's focal length in millimeters to keep stars point-like. It should then be multiplied by crop factor regardless of the ISO setting or the aperture.
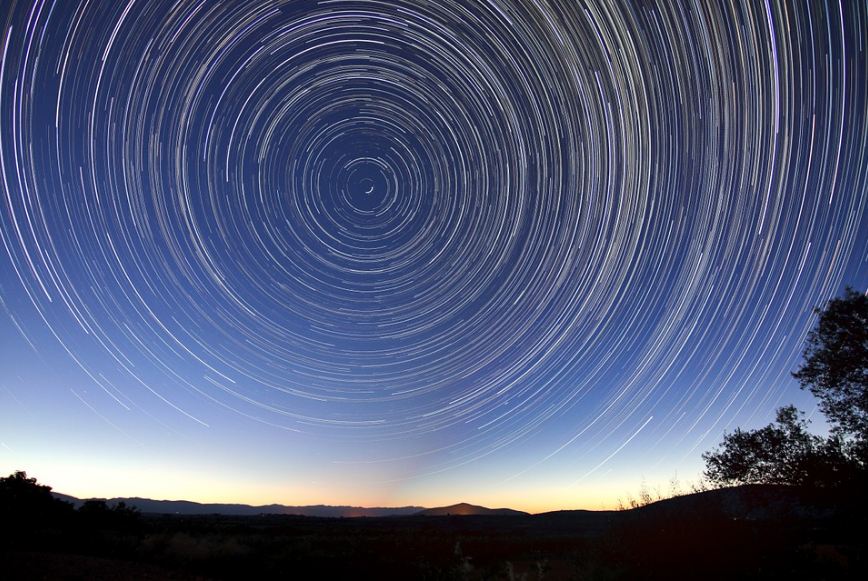
However, photographers sometimes use a technique to intentionally allow star points to become elongated lines by prolonging the exposure time to several minutes or even hours. This artistic technique is called "star trails."
"Piggyback" Photography
Piggyback is a method that uses equatorially mounted astronomical telescopes to mount the camera or lens. They are used as guide scopes that keep the field of view in the center during the exposure. Doing this allows cameras to use a longer focal length lens and/or a more prolonged exposure.
With piggybacking, you can lock the camera's shutter open, set up and mount the tracks correctly, and then leave it alone. You don't need any pricey or specialist guiding equipment. Instead, you may sit back, relax, and enjoy the night sky while the camera and mount work unsupervised.
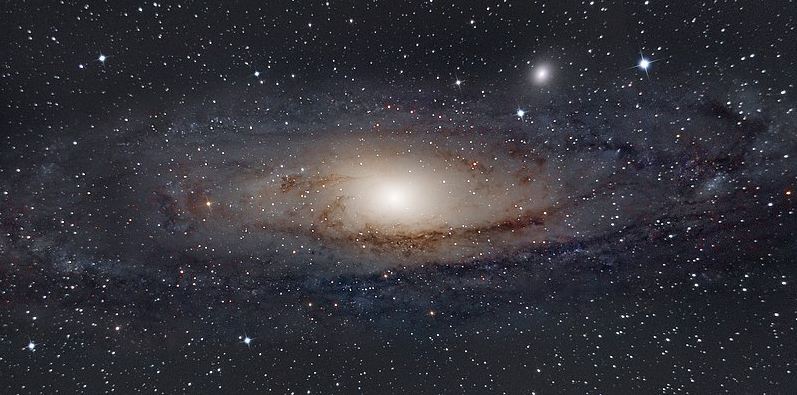
However, extreme close-ups of small "deep-sky" objects like the Ring Nebula in Lyra, the Crab Nebula in Taurus, or the globular star cluster in Hercules are not possible with piggyback photography. To acquire good views of these targets, you'll need the light-gathering and magnifying power of a telescope (acting as your camera's lens).
Tracking mounts
Tracking mounts are sometimes used to achieve longer exposures without blurring the objects to compensate for the Earth's rotation. It is made possible by matching the Earth's rotation to take long-exposure photographs of the night sky (with virtually any focal length).
For instance, a star tracker will allow you to take better night sky images without the panning effect.
Astrophotography needs long-exposure tracked photographs to capture as much signal (light) as possible - and a star tracker enables you to do just that.
There are also other mounts, such as commercial equatorial mounts and homemade equatorial devices. Equatorial camera mounts are designed to coincide with the night sky's polar axis, allowing you to capture long-exposure photographs with no star trailing.
Telescope Focal Plane Photography
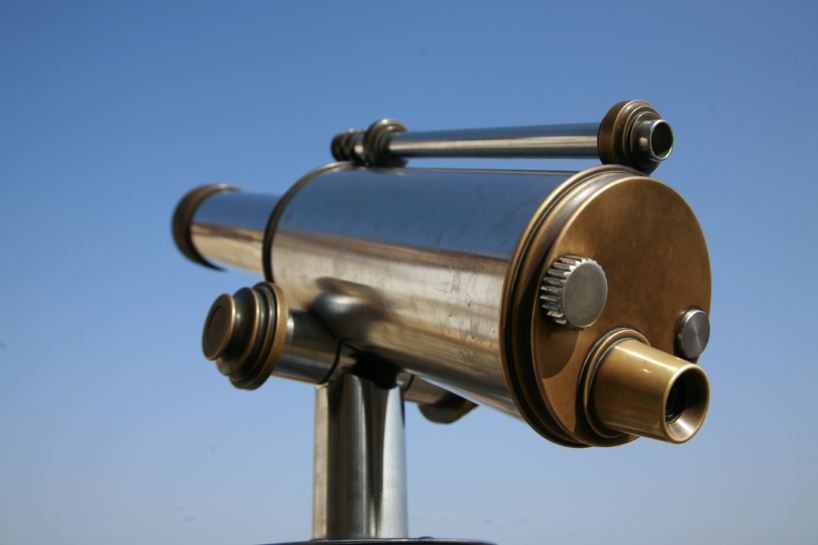
The telescope itself is used as the "lens" for this type of photography. It is one of the most challenging astrophotography methods. It collects light for the film or the Charged-Coupled Device (CCD) of the camera.
This type of photography is complex because there are also many challenging encounters except for the added expense of the equipment. Among those is centering and focusing on dim objects with a narrow field of view and magnified vibration and tracking errors. The different ways cameras with removable lenses are attached to amateur astronomical telescopes are through Prime Focus, Positive Projection, Negative Projection, and Compression.
Non-removable camera lenses use a standard method called afocal photography or afocal projection. The camera lens and the telescope eyepiece are attached. When both the lens and eyepiece are focused at infinity, between them is a parallel or afocal light path that allows the camera to capture anything the viewer can see.
Afocal photography works great when photographing the Moon, bright planets, and narrow field images of stars and nebulae. This method was common with consumer-level cameras from the early 20th-century since many models had non-removable lenses. However, it became more popular as point-and-shoot digital cameras were introduced with models with non-removable lenses.
Now that you know about astrophotography, you can try and capture your first astronomical object and immortalize its beauty in a frame. Who knows, your photo might be featured in many TV shows and magazines too!