Getting Help with a Dobsonian Telescope Not Focusing
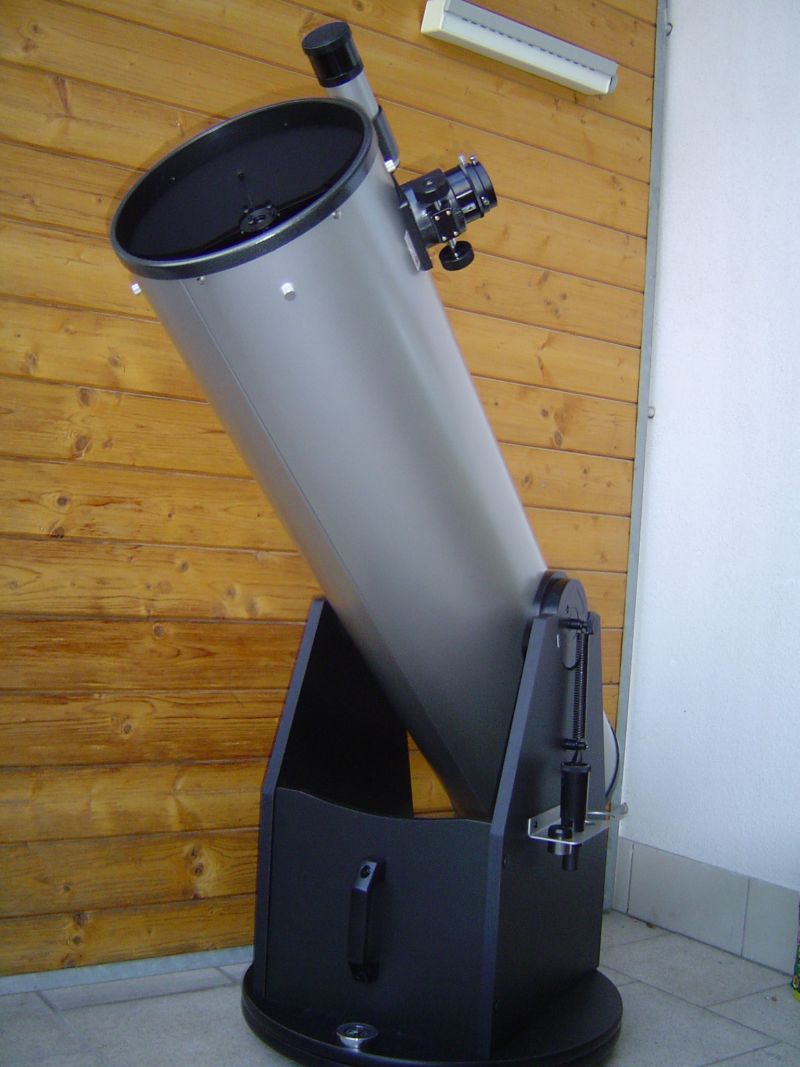
The Dobsonian telescope is one of the largest types of telescopes that can be used at home. It is named after John Dobson, an astronomer who designed its special mount in 1965 by reinventing the mechanisms of a cannon mount so that it can be used for a telescope. In addition, Dobson is also the one who started the big home telescope trend by designing one that is big in size but affordable in price. By creating the Dobsonian telescope, Dobson allowed amateur astronomers to have large telescopes at home without the need to visit observatories.
As it is currently the biggest telescope for home use, many veteran stargazers usually have a Dobsonian telescope. But for those who have recently bought one, they may realize that it has slightly different mechanics compared to a regular refractor or reflector telescope. Some of these people may struggle with the aspect of focusing on objects with the telescope, as the Dobsonian usually has high magnifying power that can be quite difficult to lower. If you are experiencing the same dilemma, here is a guide on how to focus your Dobsonian telescope properly.
Make Sure the Main Tube is Extended
Right out of the box, the Dobsonian telescope’s main tube is more likely to be properly extended. However, in some cases, the main tube may not even be extended at all, which forces you to make adjustments before using. If you fail to adjust the main tube if it is not extended, the magnification of the telescope may not work.
The fully extended length of a Dobsonian telescope is 3” or 4” depending on its size, and you shouldn’t overextend the tube as it may break or its focus may not function correctly. You may hear a soft audible click when the extension reaches the correct length.
Collimate your Telescope
For the Dobsonian telescope to provide the best magnification for the viewer, the optics found inside its main tube needs to be aligned correctly in a straight line. Due to weather and climate conditions in some areas of the world, the optics inside may eventually warp, which causes it to move slightly to the left or the right inside the main tube.
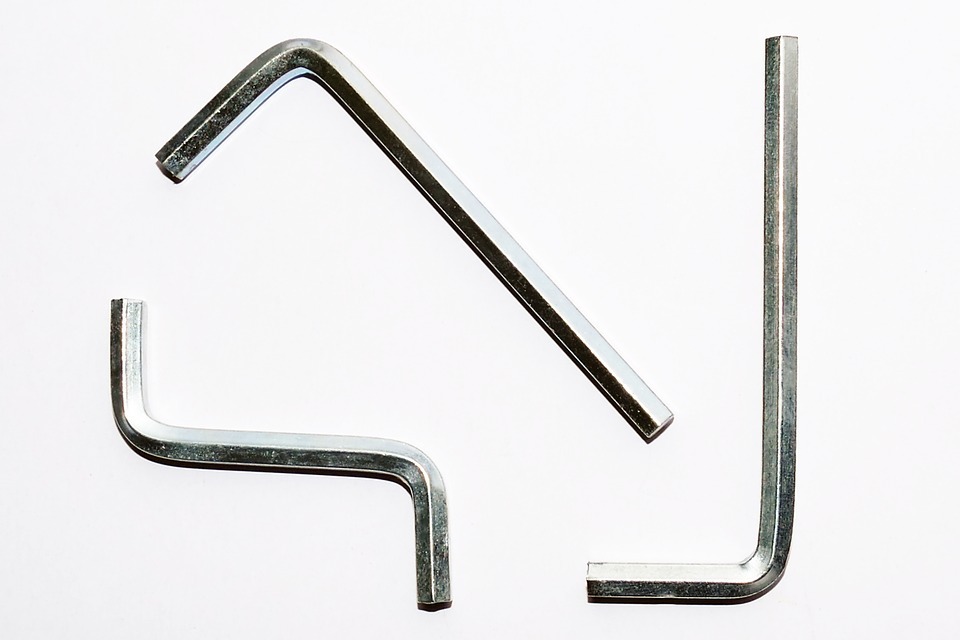
In collimating the Dobsoniang telescope, you must adjust the position of both the primary mirror at the back and the secondary mirror at the front. To make the adjustments for the telescope, you would need a Philipps head screwdriver, a 2mm Allen wrench, a piece of white paper, and the included collimation cap. The collimation cap is an accessory inserted on the focuser that has a hole in the middle where you need to peek through the focuser to see the mirror’s alignment. Take note that not all Dobsonian telescopes have an included collimation cap, and they may have different screws from the common Dobsonians. Make sure that the tools you will be using can fit in the holes of the telescope’s screws.
Adjusting the Secondary Mirror
For adjusting the secondary mirror, you must place the piece of paper at the bottom of the main tube interior. By inserting the piece of paper inside the tube, you will be able to get a better view of the secondary mirror, thanks to the paper’s white background. While doing this action, be careful not to touch the mirror itself as fingerprints may further lessen its focusing power.
After the piece of paper is inserted, take a peek through the focuser while it is fitted with the collimation cap. While looking through the focuser, if the secondary mirror is placed too close to the front of the telescope where the focuser is located or if it is too close to the primary mirror, then you would have to adjust its position.
Use the 2mm Allen wrench to loosen the three socket head screws that are holding the secondary mirror in place at the back of the telescope. However, you should only turn the screws one or two times, as the secondary mirror may fall off if you loosen the screws too much. In addition, do not loosen the screws if the telescope is in a vertical position because the screw may accidentally fall on top of the primary mirror and damage it.
After loosening the screws, use your Philipps head screwdriver to turn the center screw clockwise or counterclockwise and look through the collimation cap to see if the mirror is centered. Be sure to hold the stock where the secondary mirror is screwed so that you won’t damage parts. Turn it counterclockwise if the secondary mirror is near the front of the telescope, and turn it clockwise if it is close to the primary mirror.
Also, you should keep in mind that the secondary mirror should be facing the focuser for better magnification. This can easily be adjusted by tightening the socket head screws again using the 2mm Allen wrench.
Adjusting the Primary Mirror
For the primary mirror, its center mark must be properly aligned with the dot of the collimation cap. To achieve this, look for a set of six screws located at the exterior of the main tube and at the back of the primary mirror, and you would need to loosen the shorter collimation locking screws first before loosening the taller collimation adjustment screws.
The taller collimation adjustment screws are the ones that set the tilt of the primary mirror, so you would need to make the adjustments on those by turning them using your fingers. You would have to look through the collimation cap after every adjustment to see if the primary mirror is properly aligned.
After aligning the primary mirror correctly, make sure that you tighten the collimation locking screws so that the primary mirror won’t move.
These are two of the most common adjustments that needed to be done for the Dobsonian telescope to focus adequately. If your telescope still isn’t focusing after collimating it and extending its main tube, it is recommended that you call the manufacturer’s customer service support call center so that they can help you get the best out of your telescope.